Using AWS C9 for Online Development

Cloud9. To begin, you must register with Amazon Web Services.
If you already have an Amazon account, you can log on using these credentials.
-
A phone nearby for Amazon to contact you and verify the account information
-
A valid credit card. While AWS is free to register and use for the first year, a credit card is required to register an account.
Text
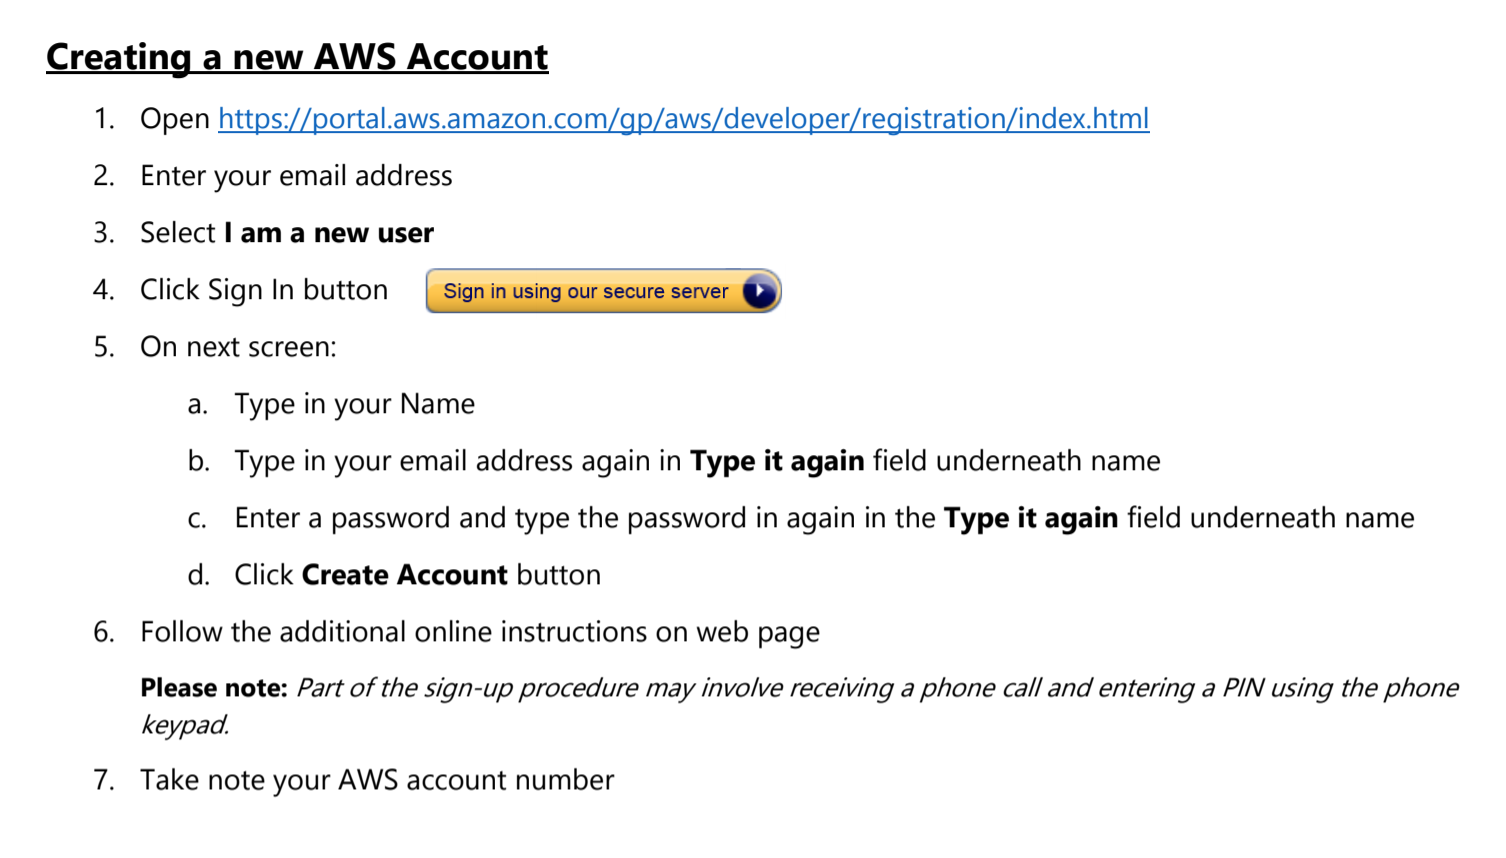
Create an AWS account:
https://portal.aws.amazon.com/gp/aws/developer/registration/index.html, otherwise just sign into the console at
Create an IAM User and Group:
Identity and Access Management (IAM) enables you to securely control access to AWS services and resources for your users. Using IAM, you can create and manage AWS users and groups, and use permissions to allow and deny their access to AWS resources.
We will create a group called "TTS_C9" for our TTS projects with 1 user called "TTS_Cloud9_User" that will have the necessary permissions to create projects.
Create an IAM User and Group:
Create an IAM Group for Your TTS Projects
-
Sign in to the Identity and Access Management (IAM) console at https://console.aws.amazon.com/iam/ using your AWS Account email and password.
-
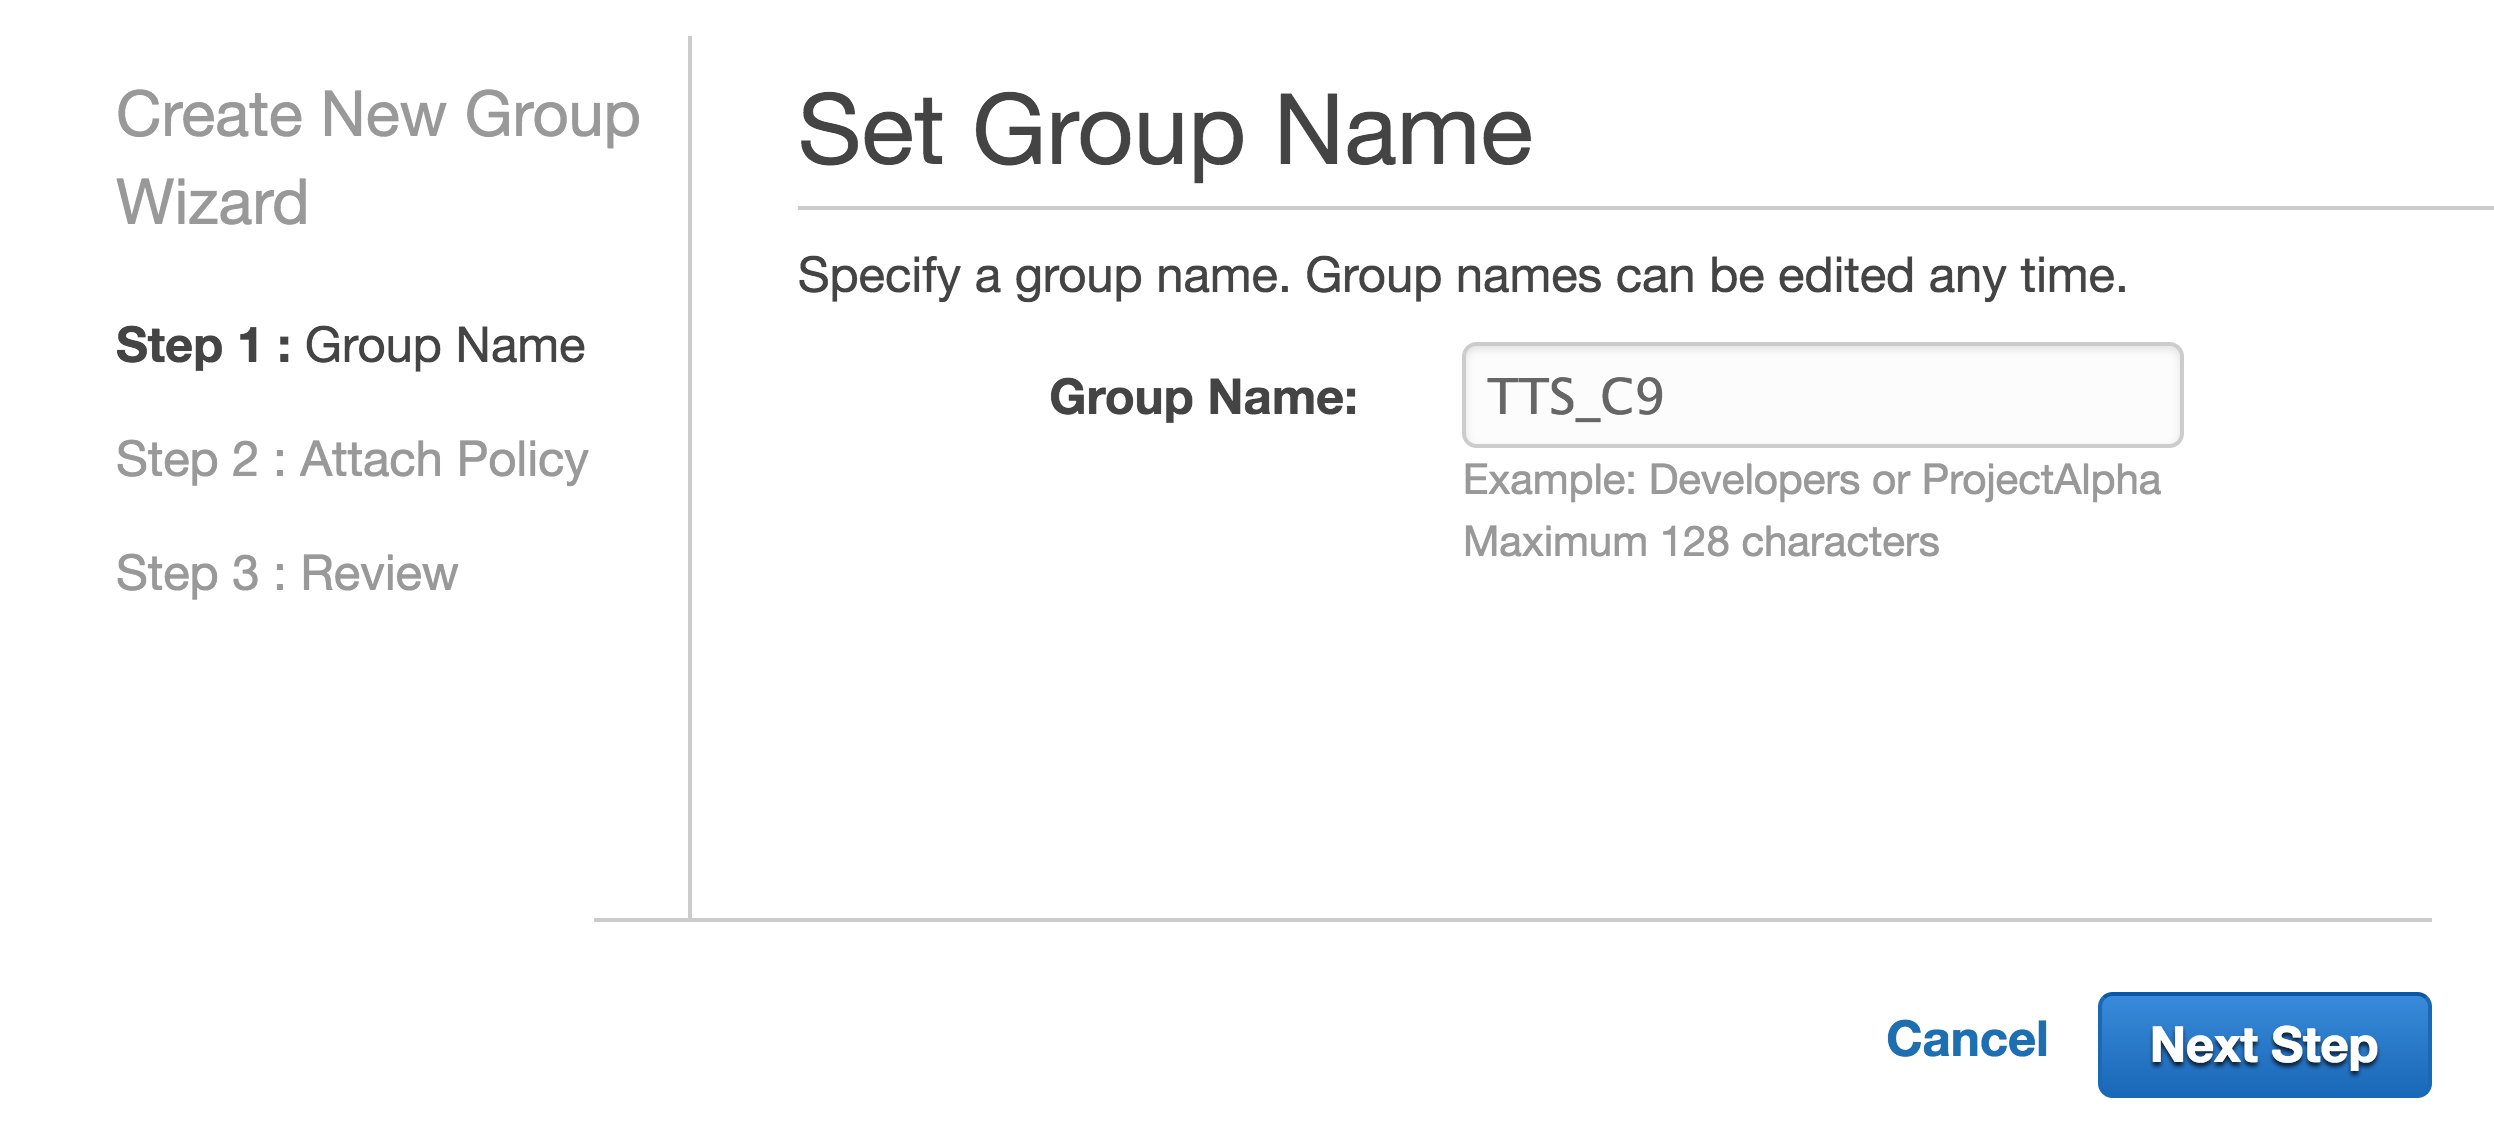
In the navigation pane, choose Groups, and then choose Create New Group.
-
For the Group Name, type TTS_C9, and then choose Next Step.
Create an IAM User and Group:
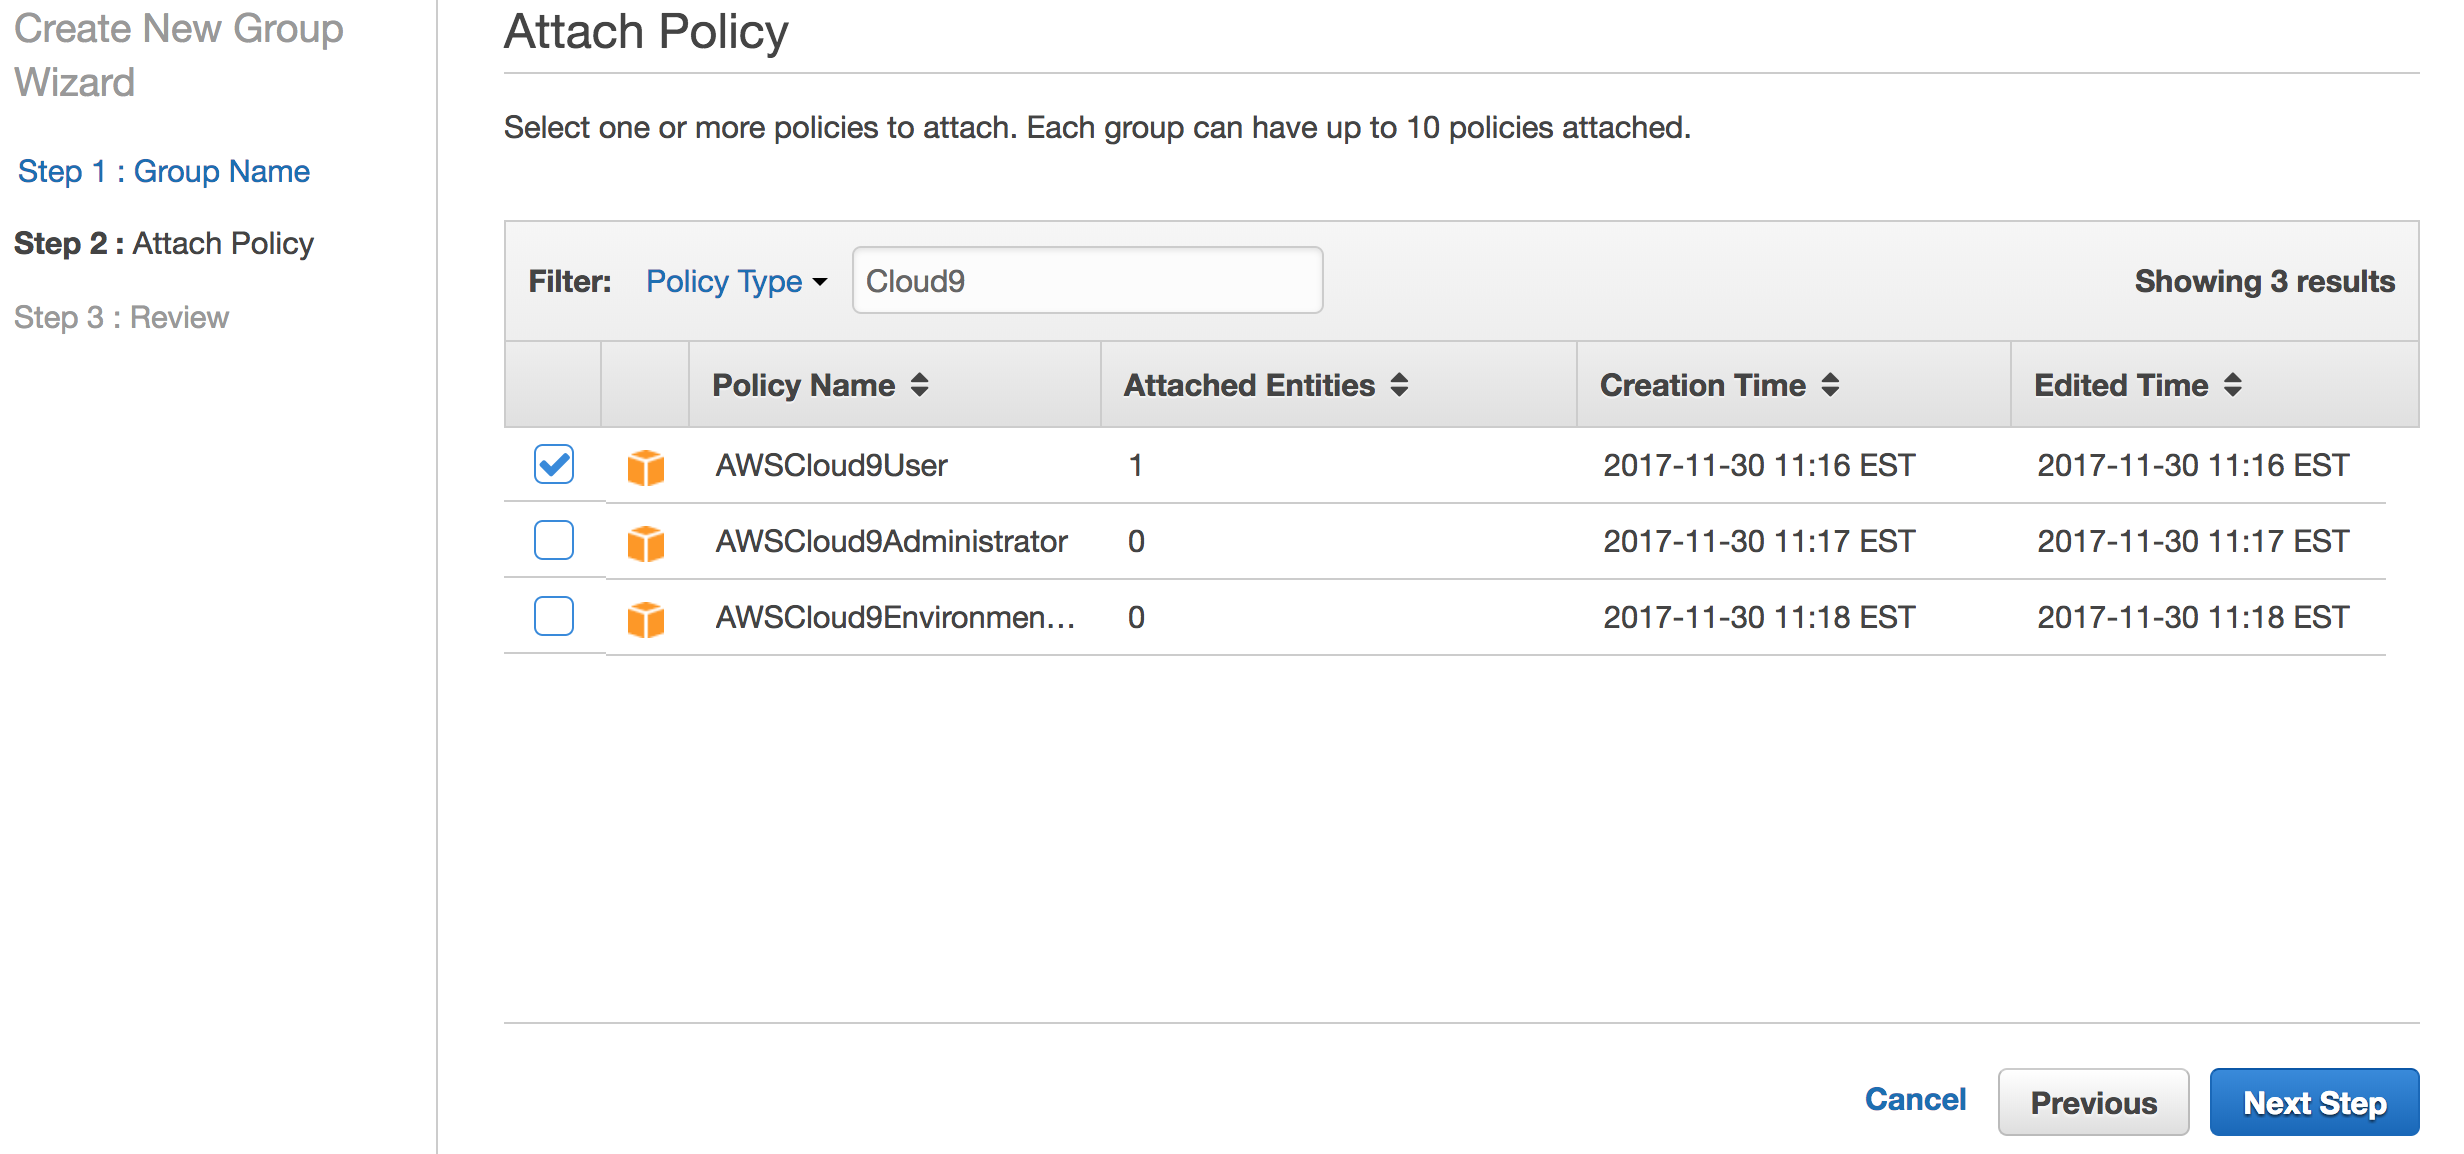
You will be presented with a list of policies. In the search panel, type in "Cloud 9" to be presented with the Cloud 9 options. Select the checkbox next to the "AWSCloud9User" policy. Then, click "Next Step"
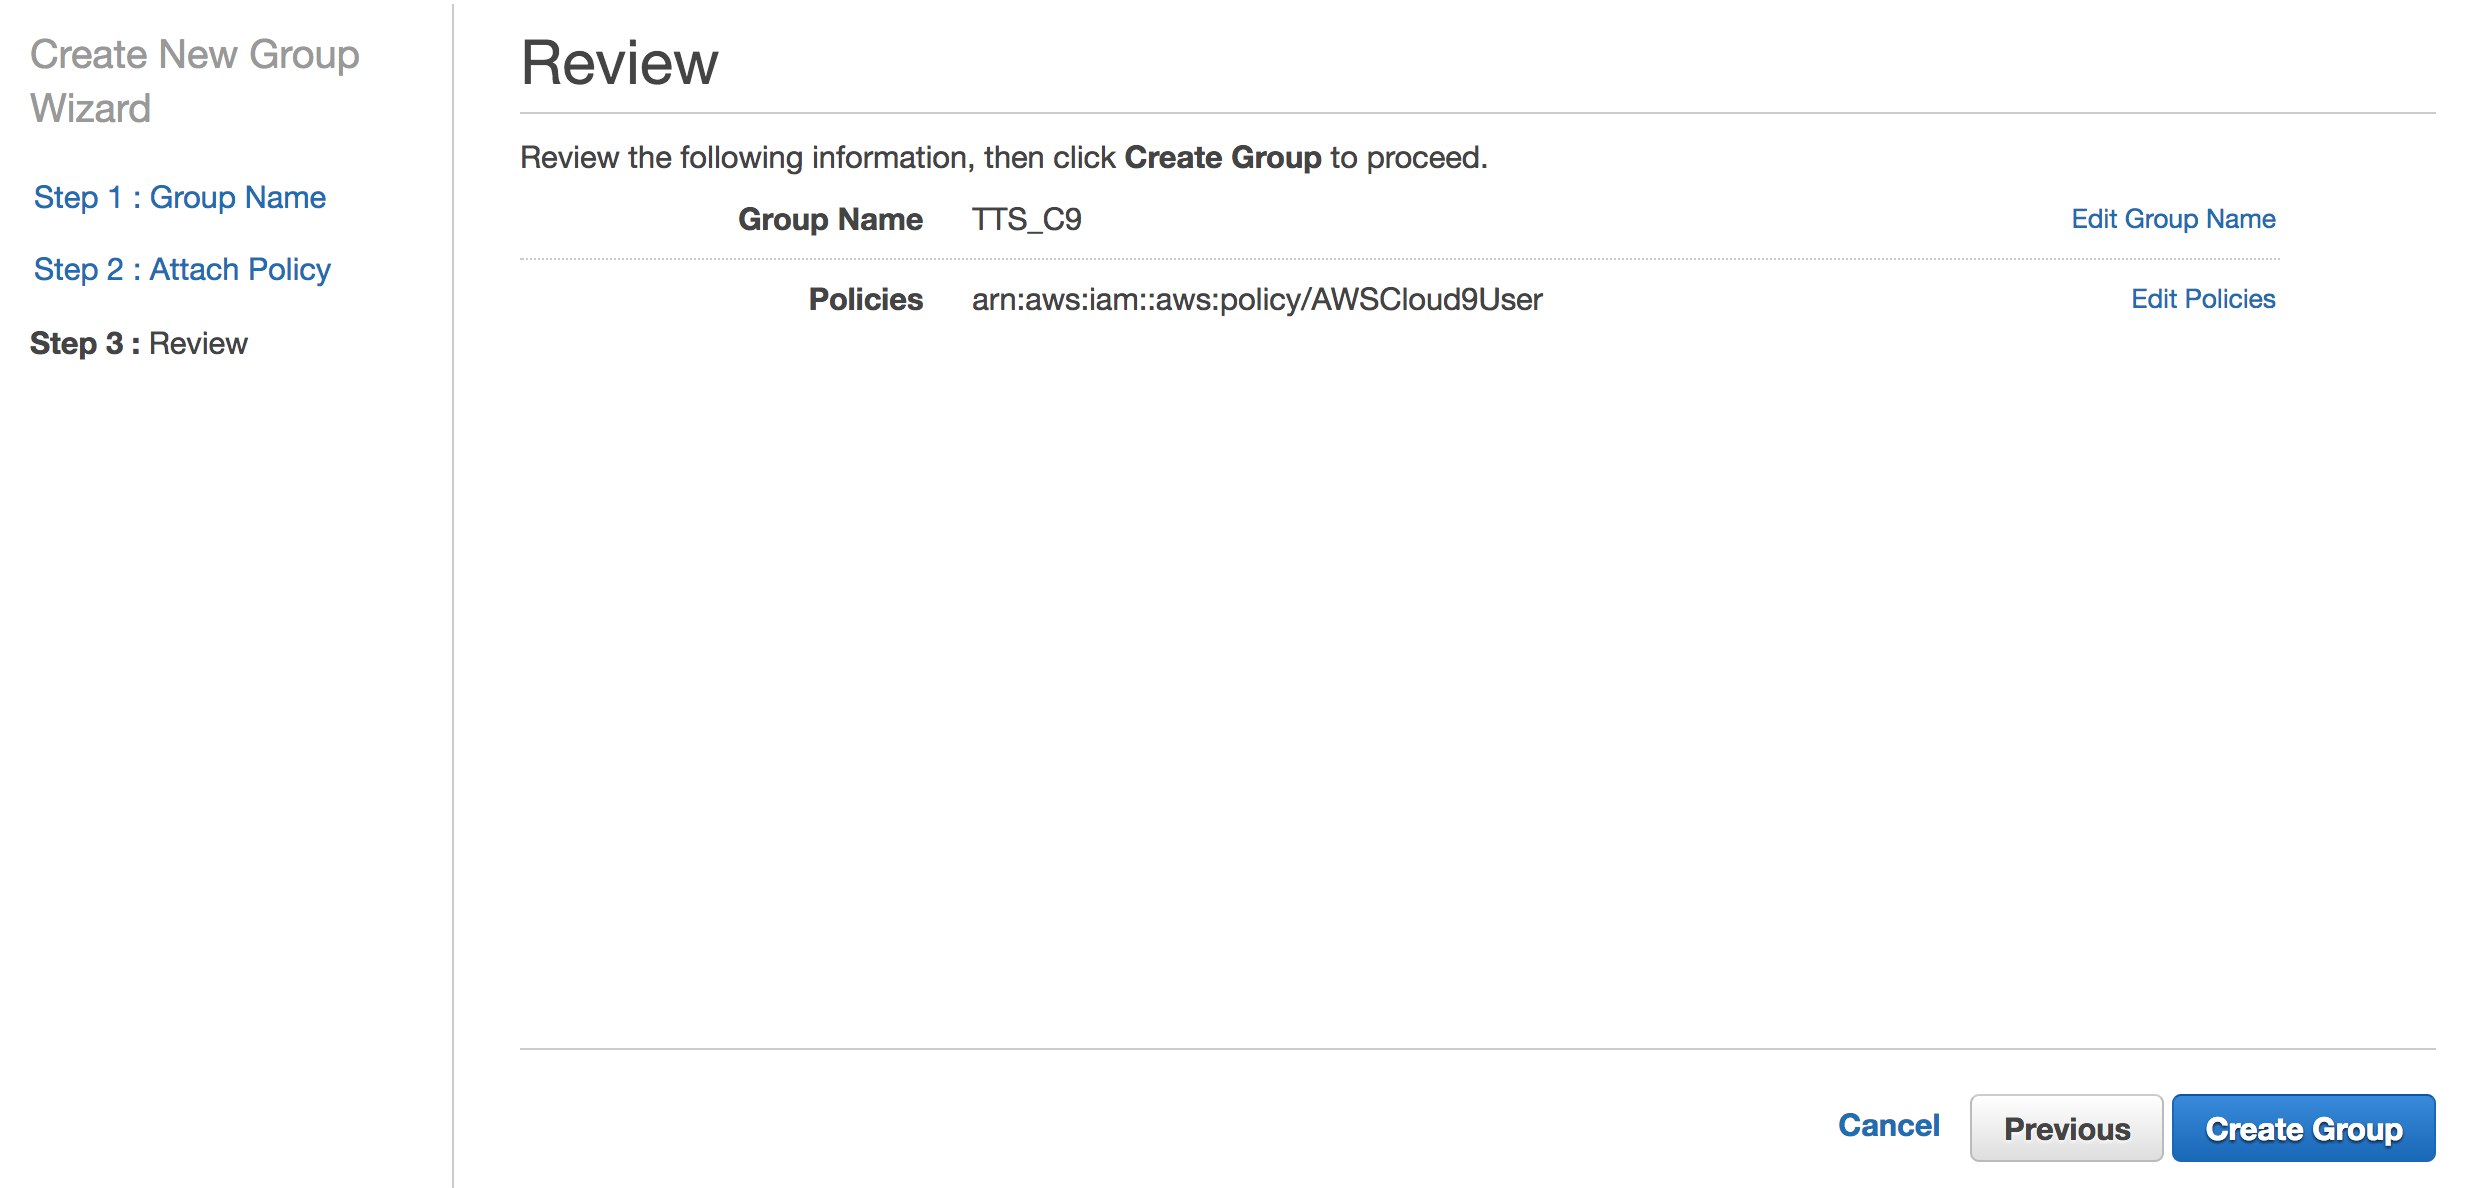
Create an IAM User and Group:
Choose Create Group. Verify your new group has been created. Your new group should be listed under Groups with the Group Name.
Creating an IAM User
- Go to the Identity and Access Management (IAM) console at https://console.aws.amazon.com/iam/
- In the navigation pane, choose Users, and then choose Add User.
To create an IAM user for yourself, add the user to the TTS_C9 group, and create a password for the IAM user.
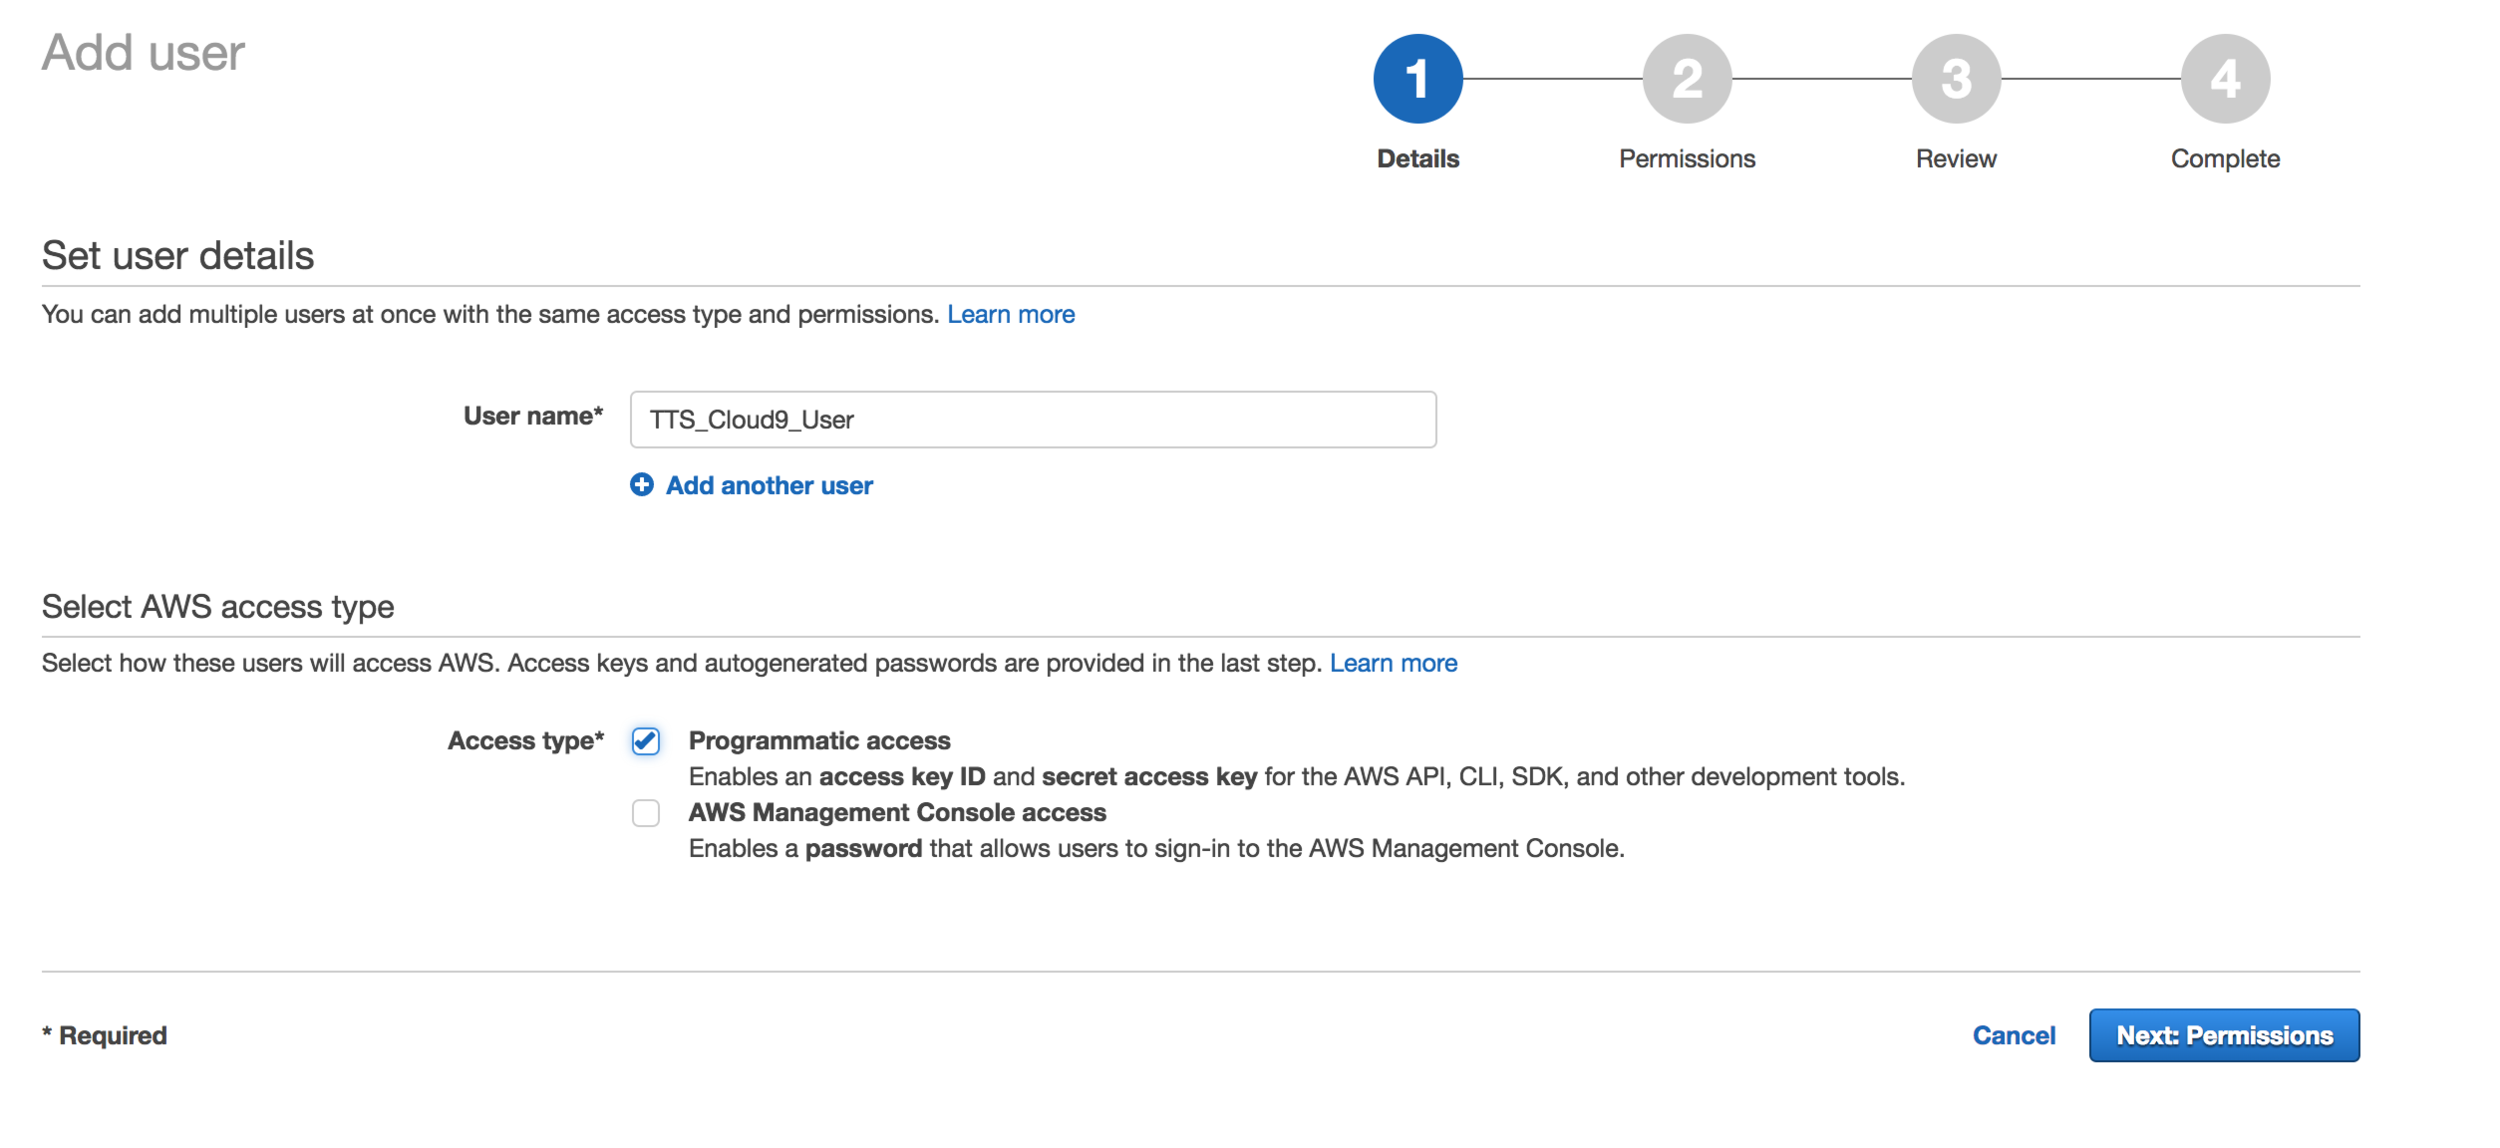
Creating an IAM User
- In the first field box, type the username, TTS_C9_User. Please note: You can create multiple users at one time.
- Select the box next to “Programmatic Access” which enables an access key ID and secret access key for the AWS API, CLI, SDK, and other development tools.
- Click "Next Permissions"
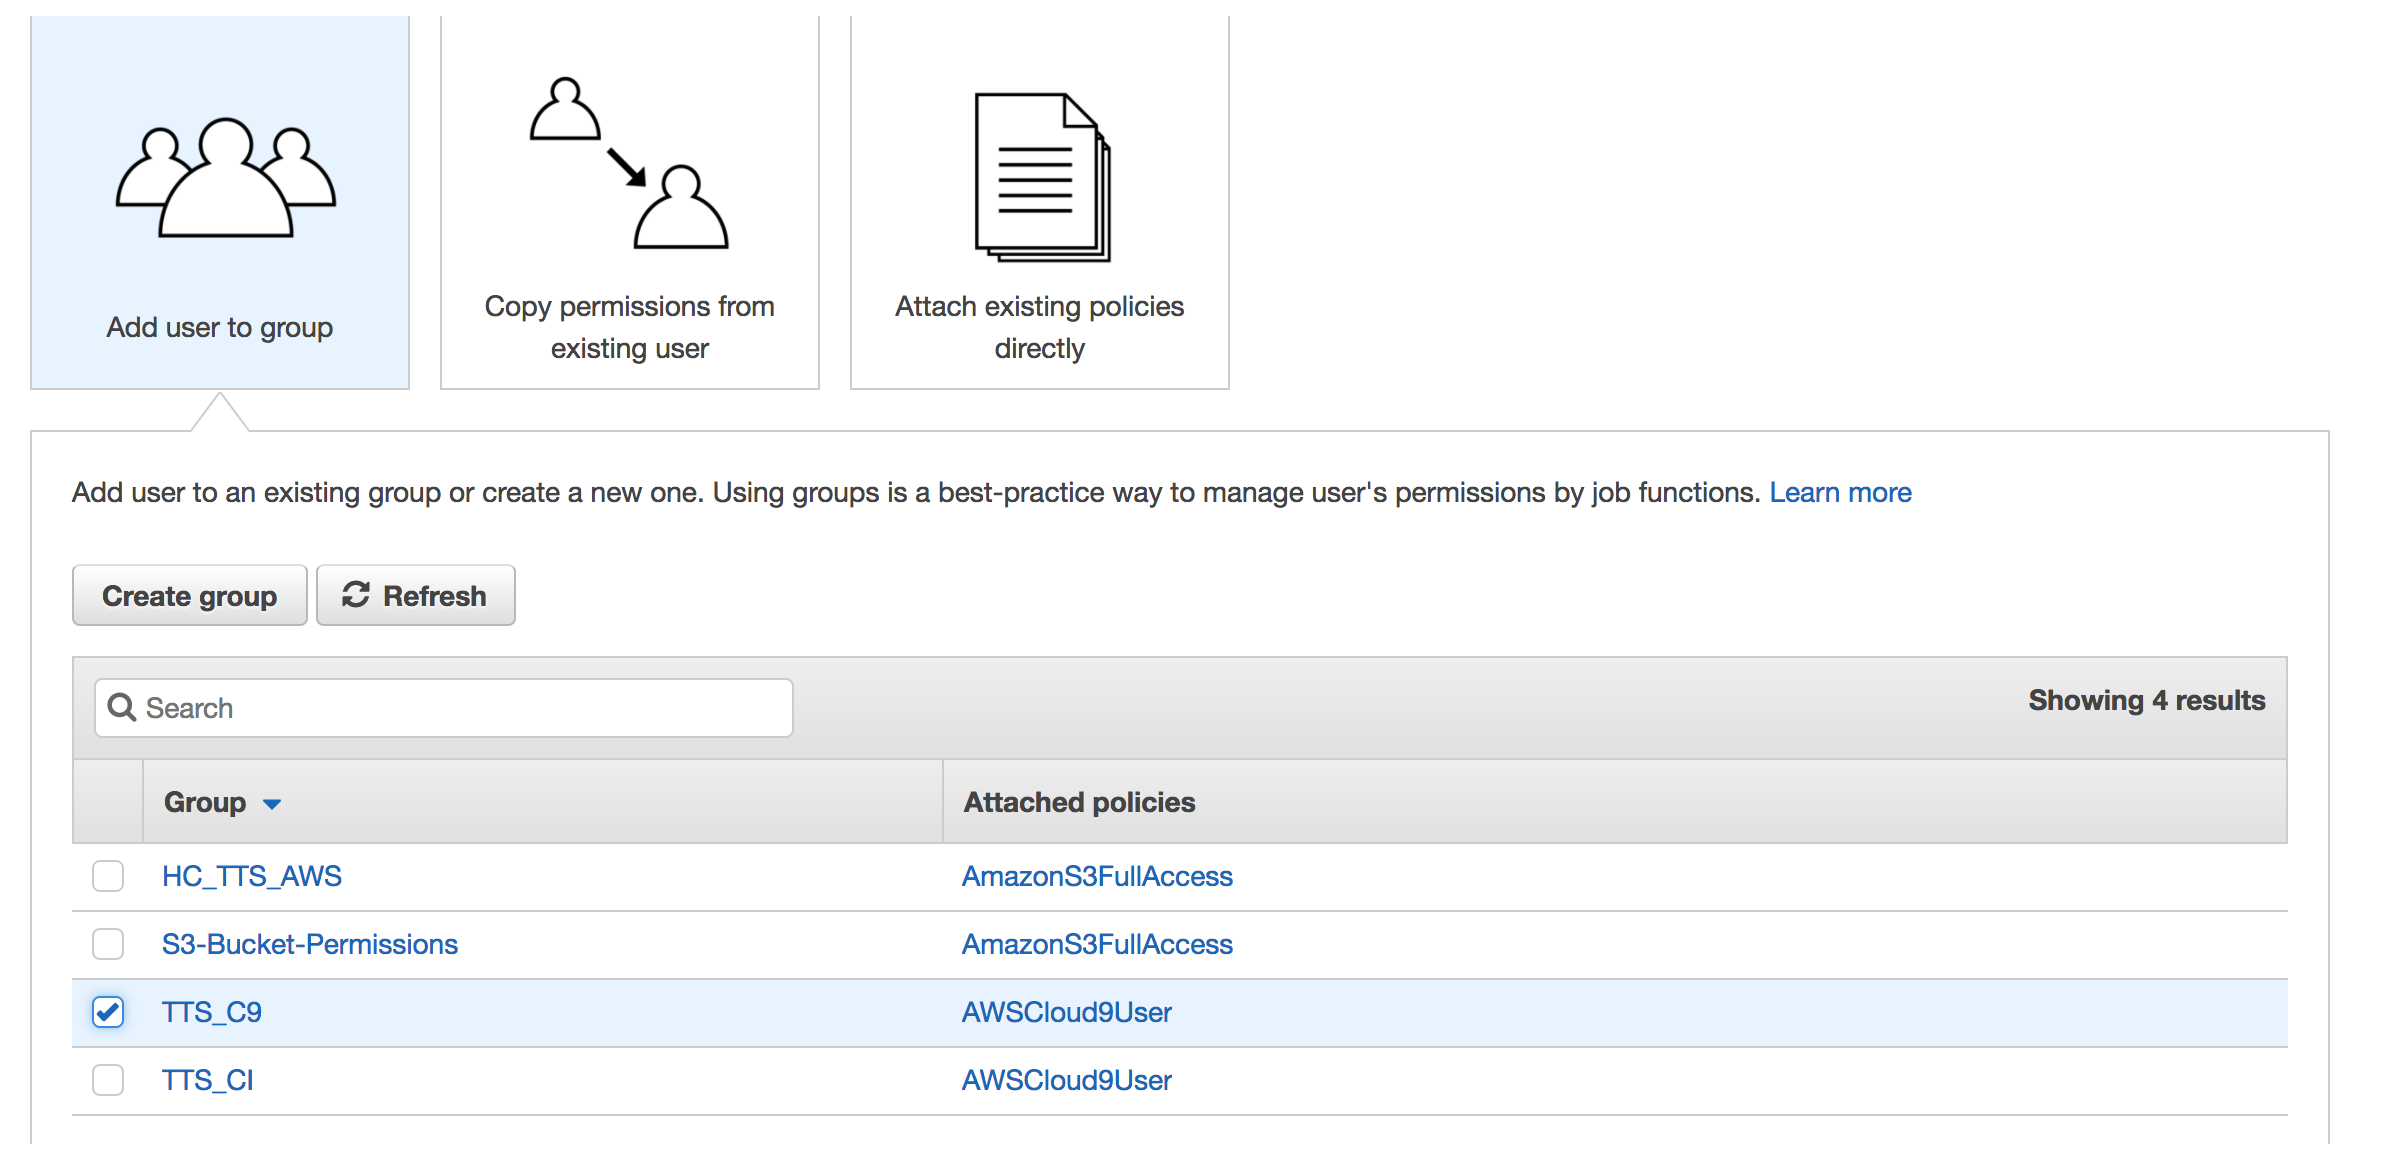
Adding IAM User to Group
- Select the "Add user to group" box and then select the checkbox next to TTS_C9 group.
- Click "Next: Review"
Creating an IAM User
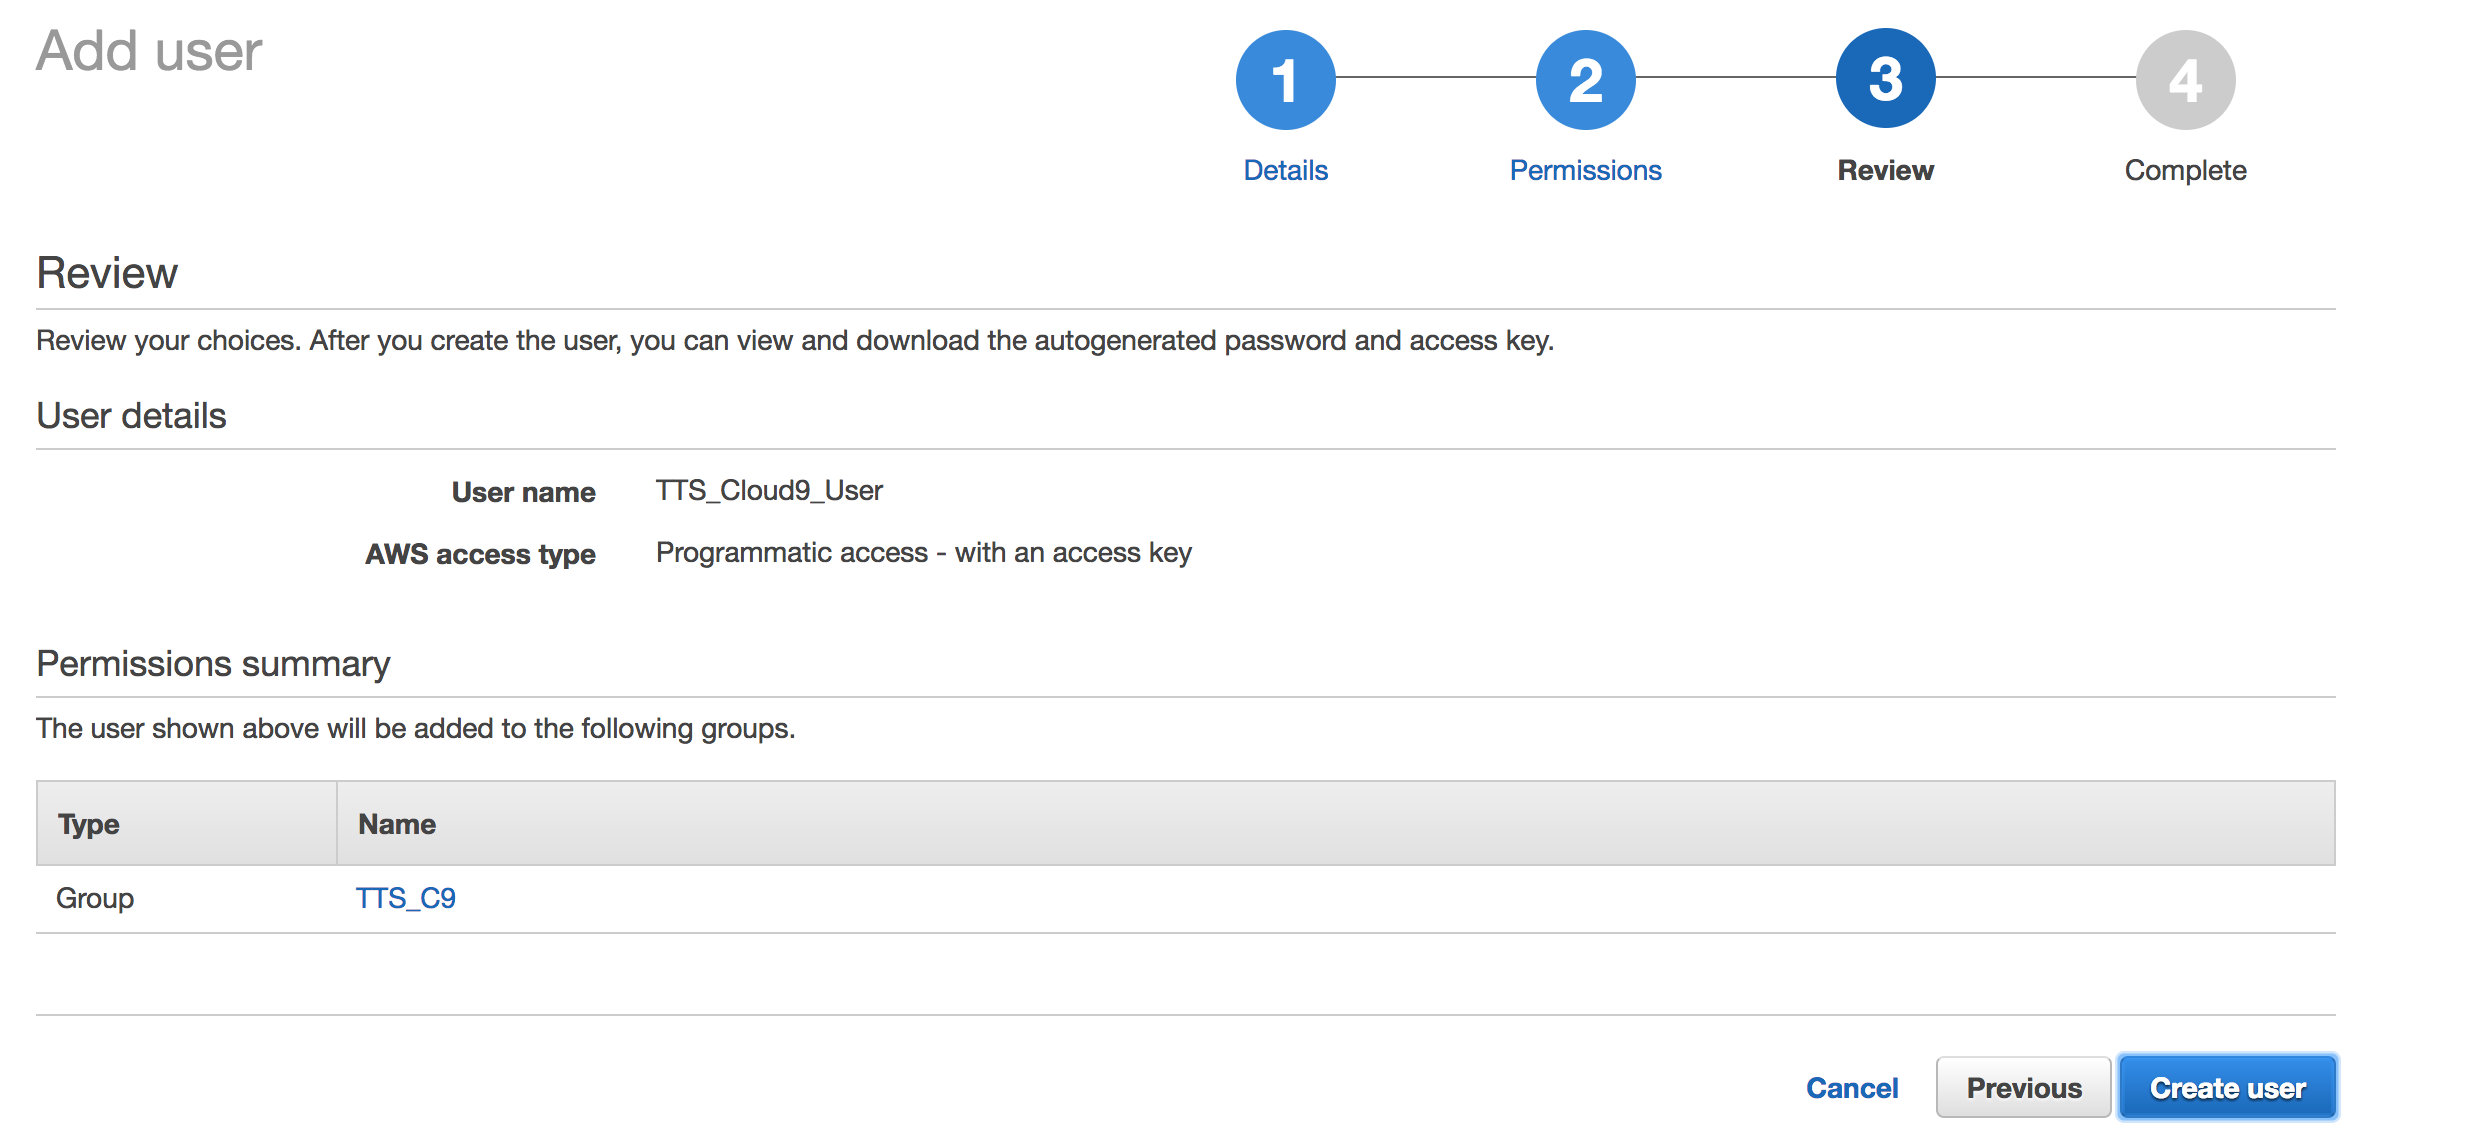
Select the blue Create user button
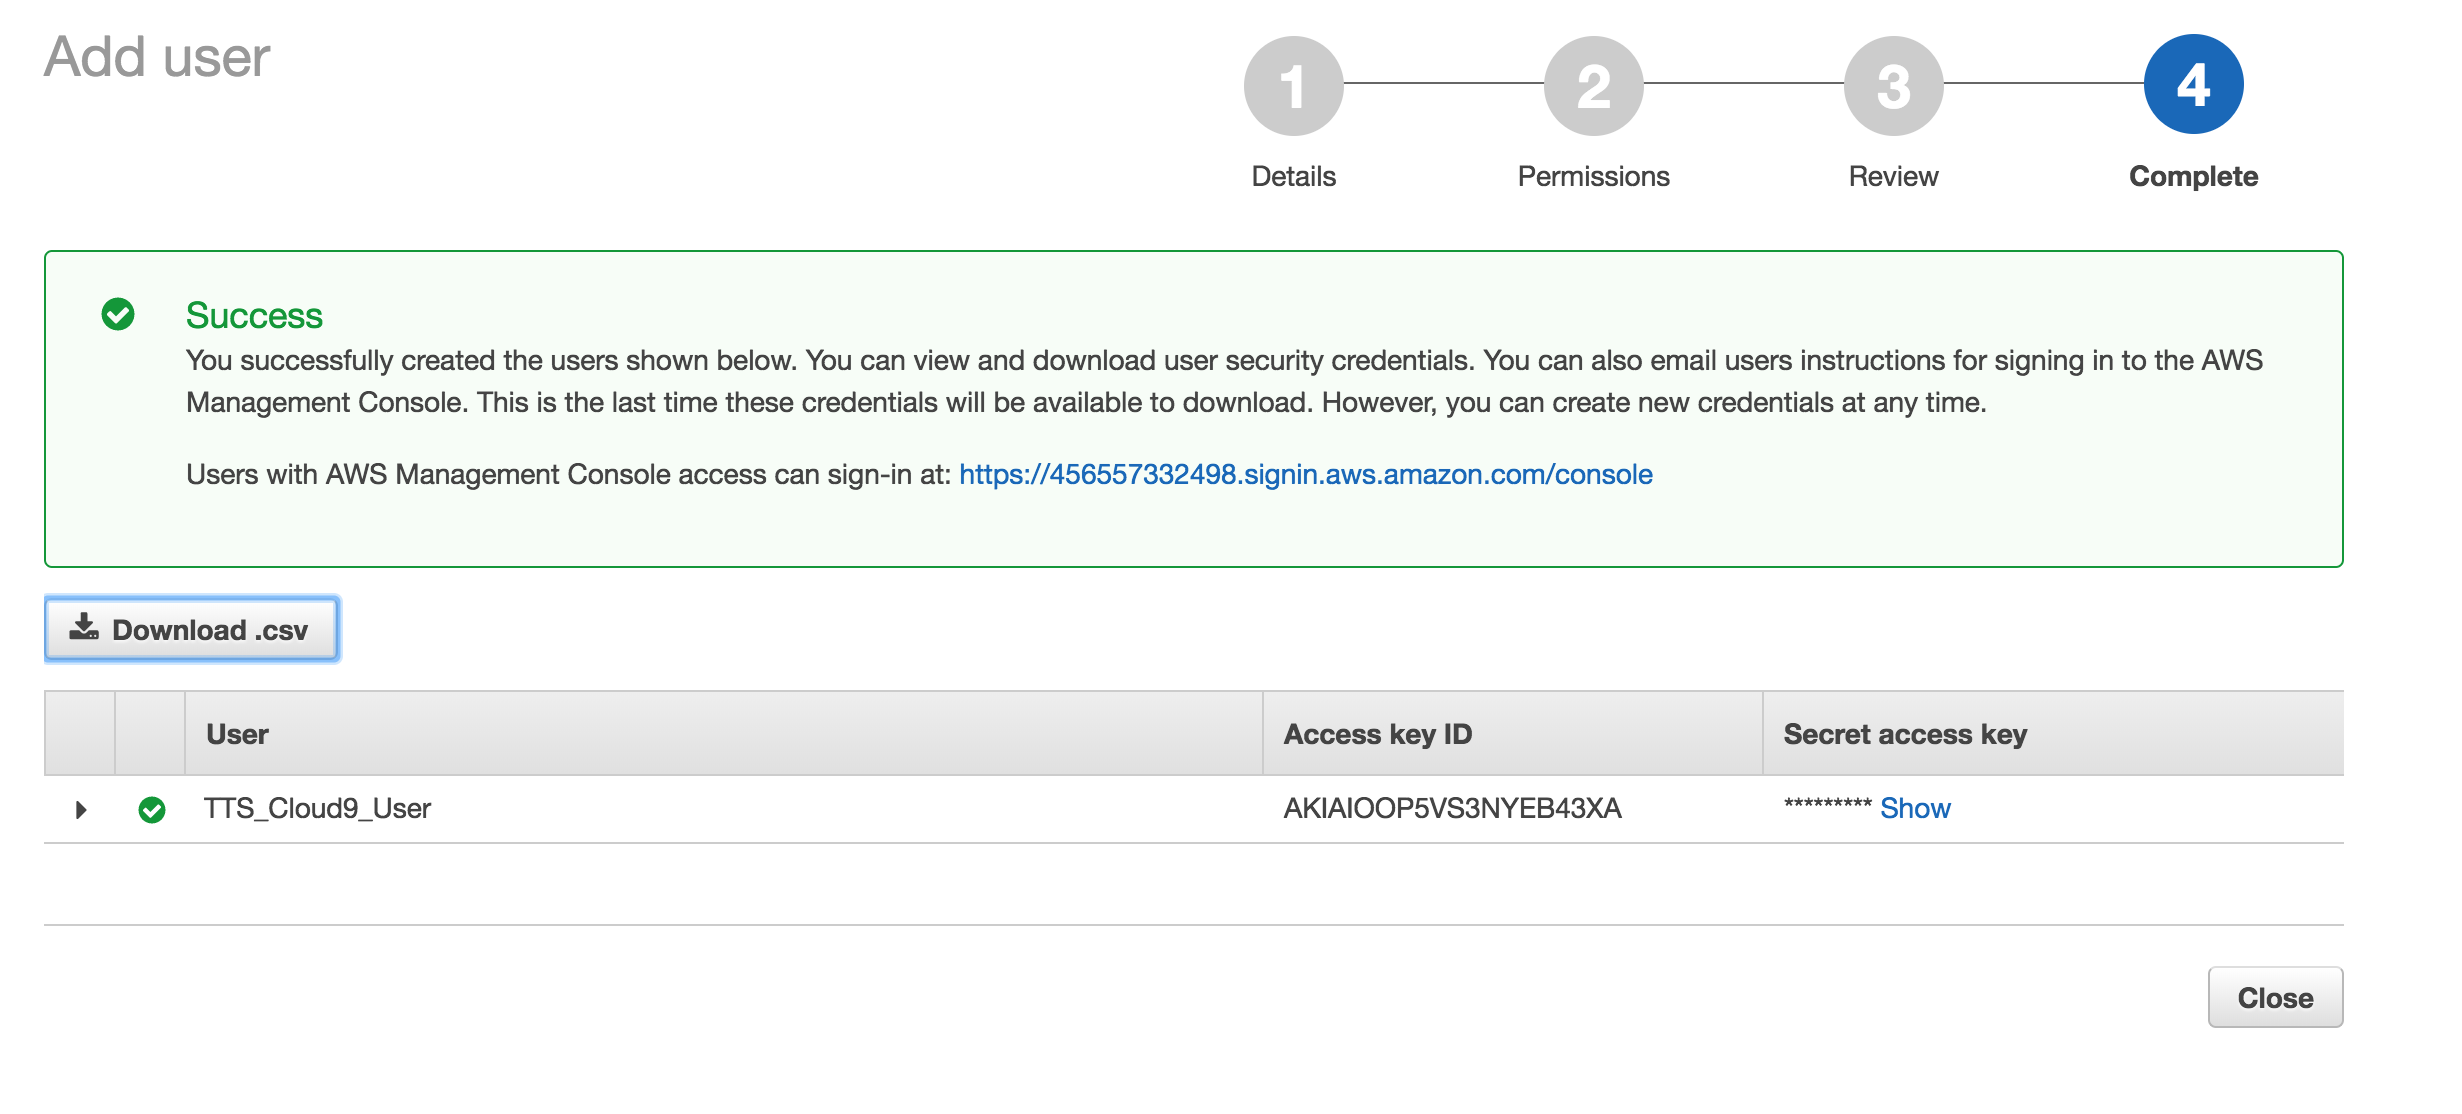
Creating an IAM User (con't)
- Below the Success Message, download the .csv file with your user security credentials.
- Please note: This is the only time the Access key and Secret key will be given for this user so you must save these credentials at this time.
- After you save the credentials, select the Close button.
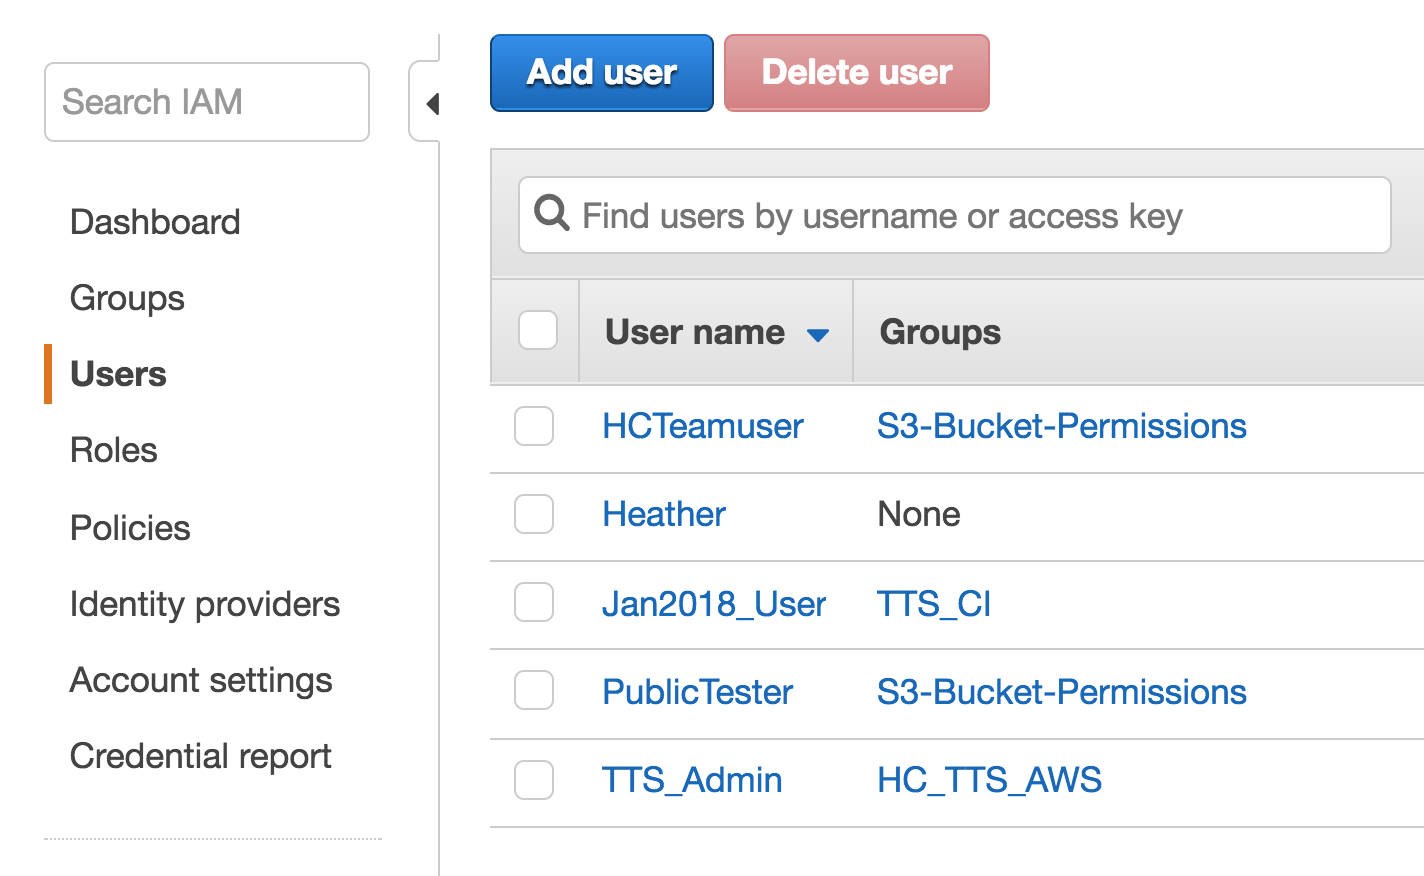
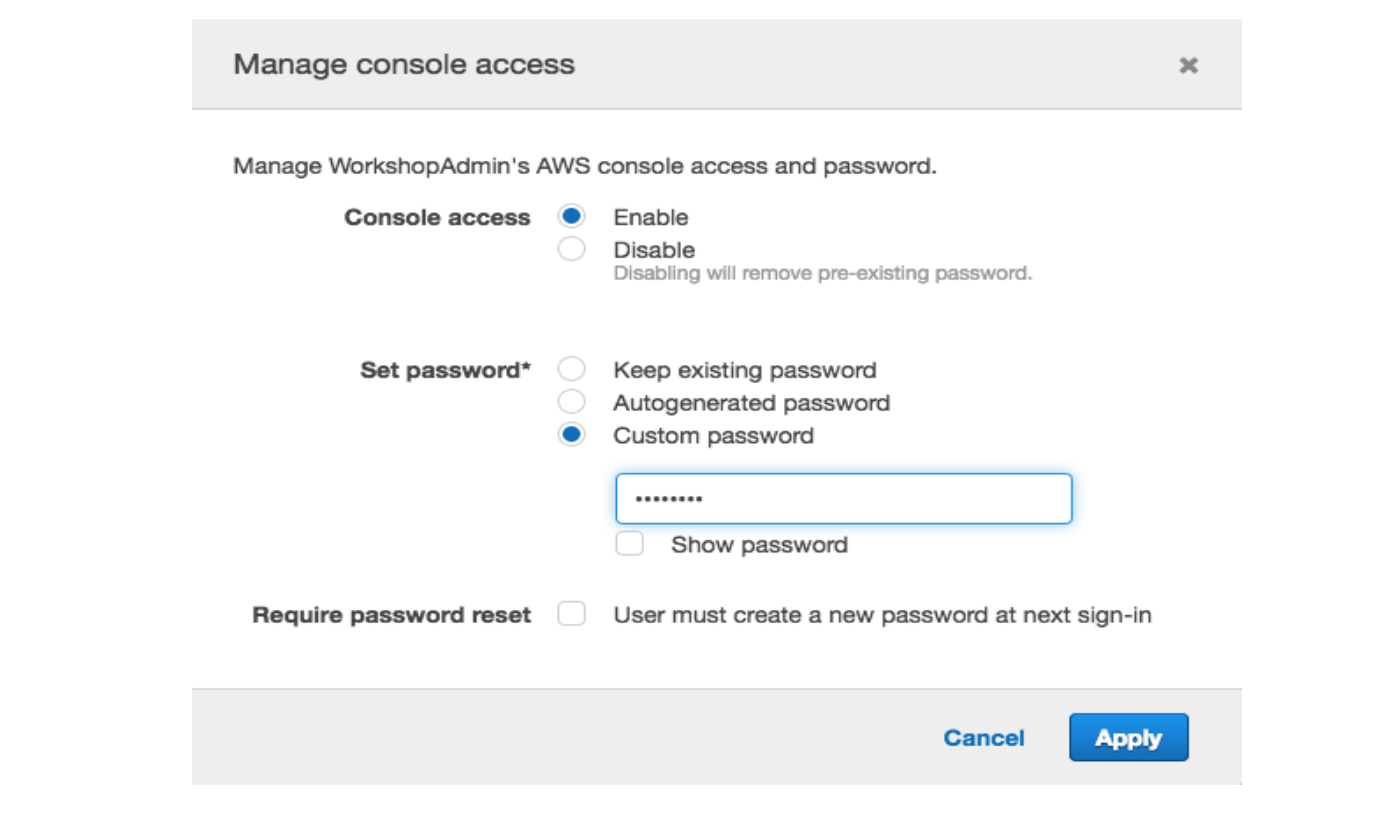
Creating an IAM User
- From the IAM Dashboard, navigate to Users and click on the name of the new user.
- In the Manage Console Access Pop-up, select "Enable" next to Console access.
- Set a custom password for this user:
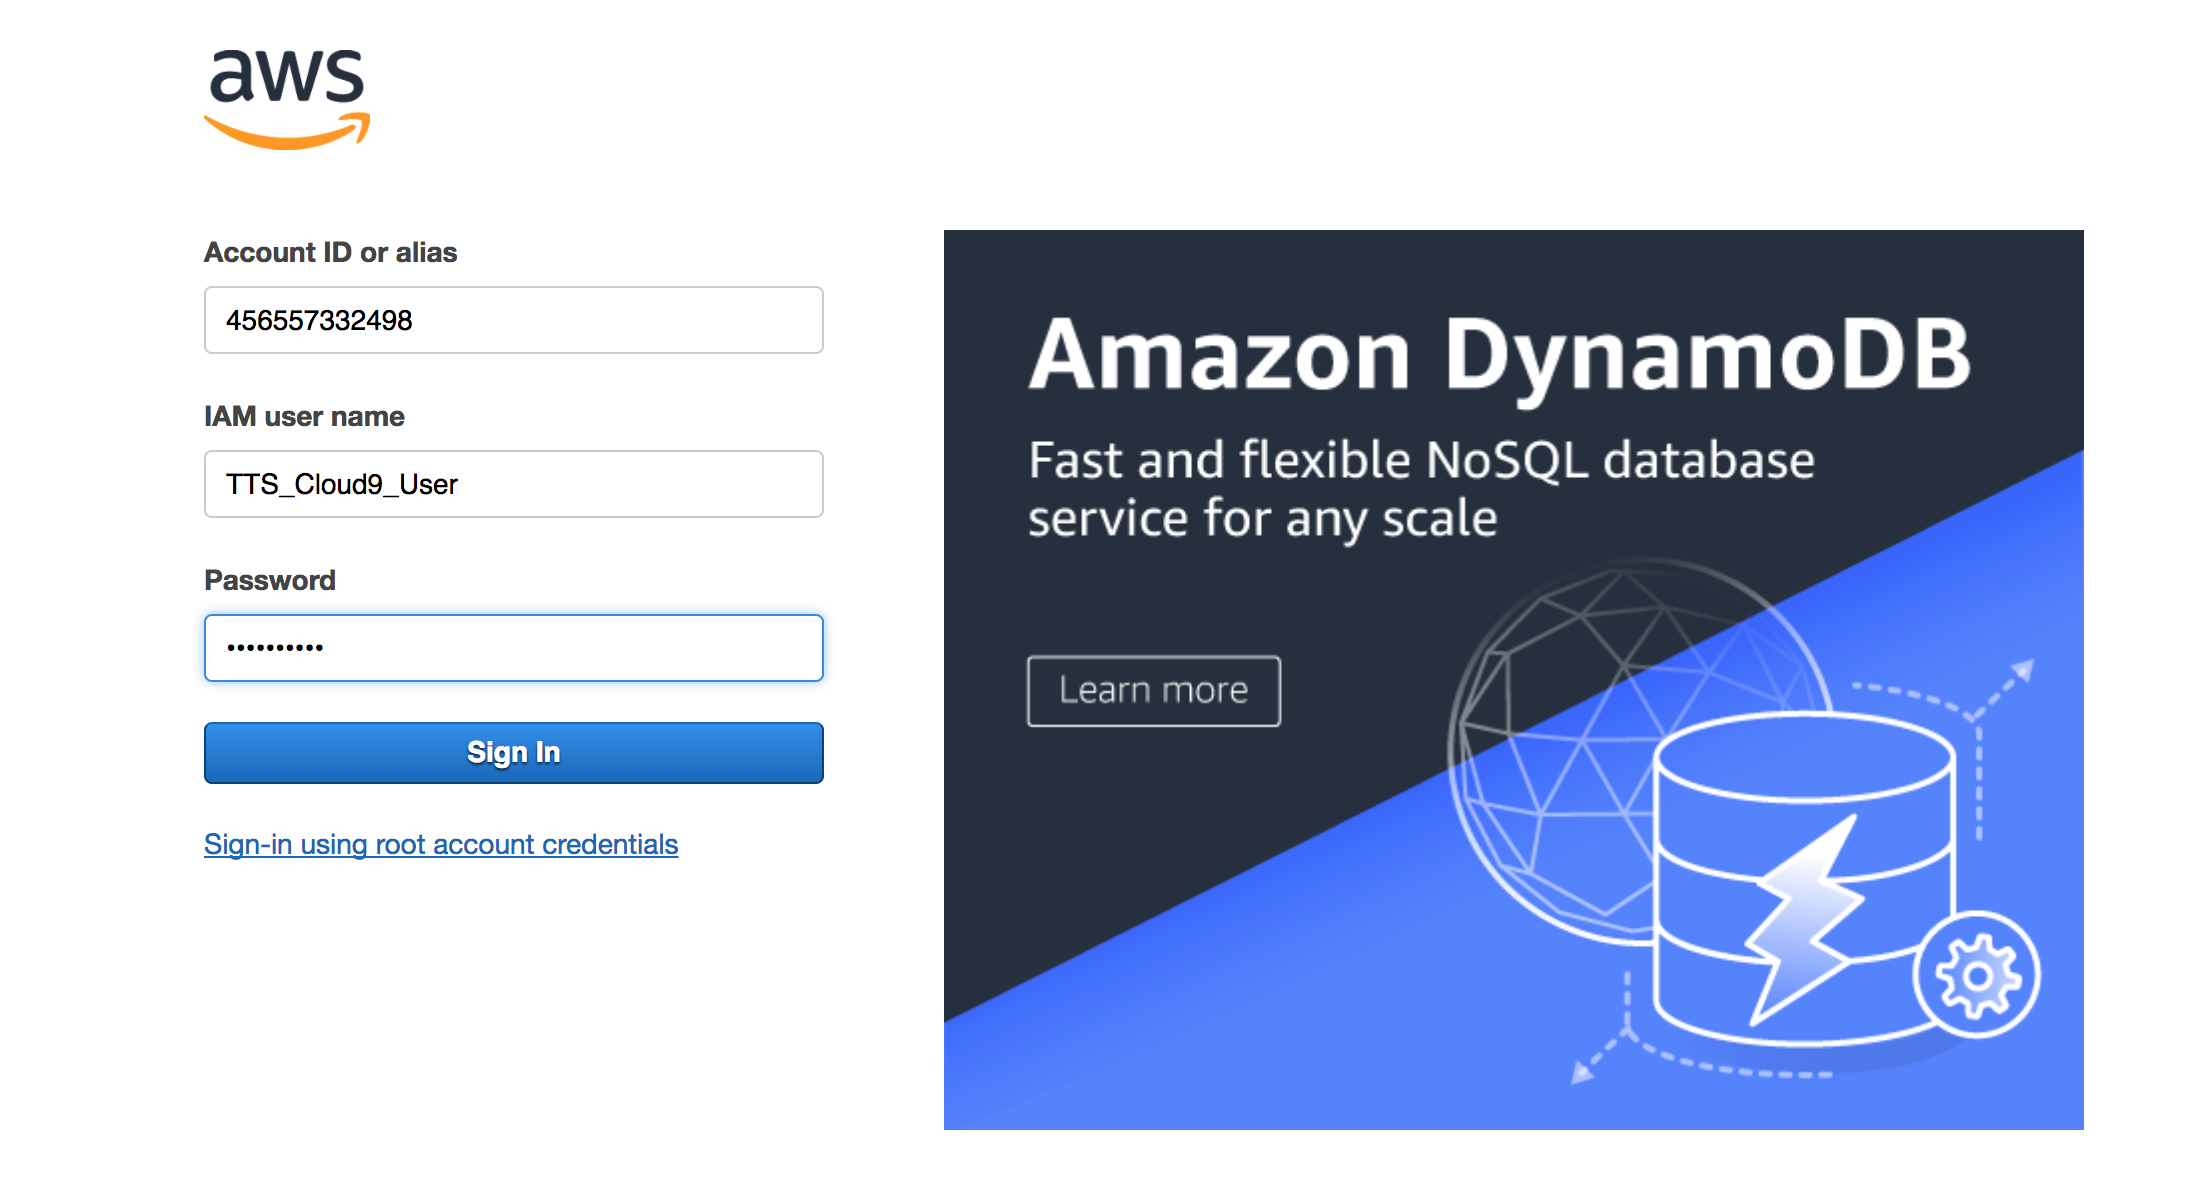
Getting Your Custom Log In Link
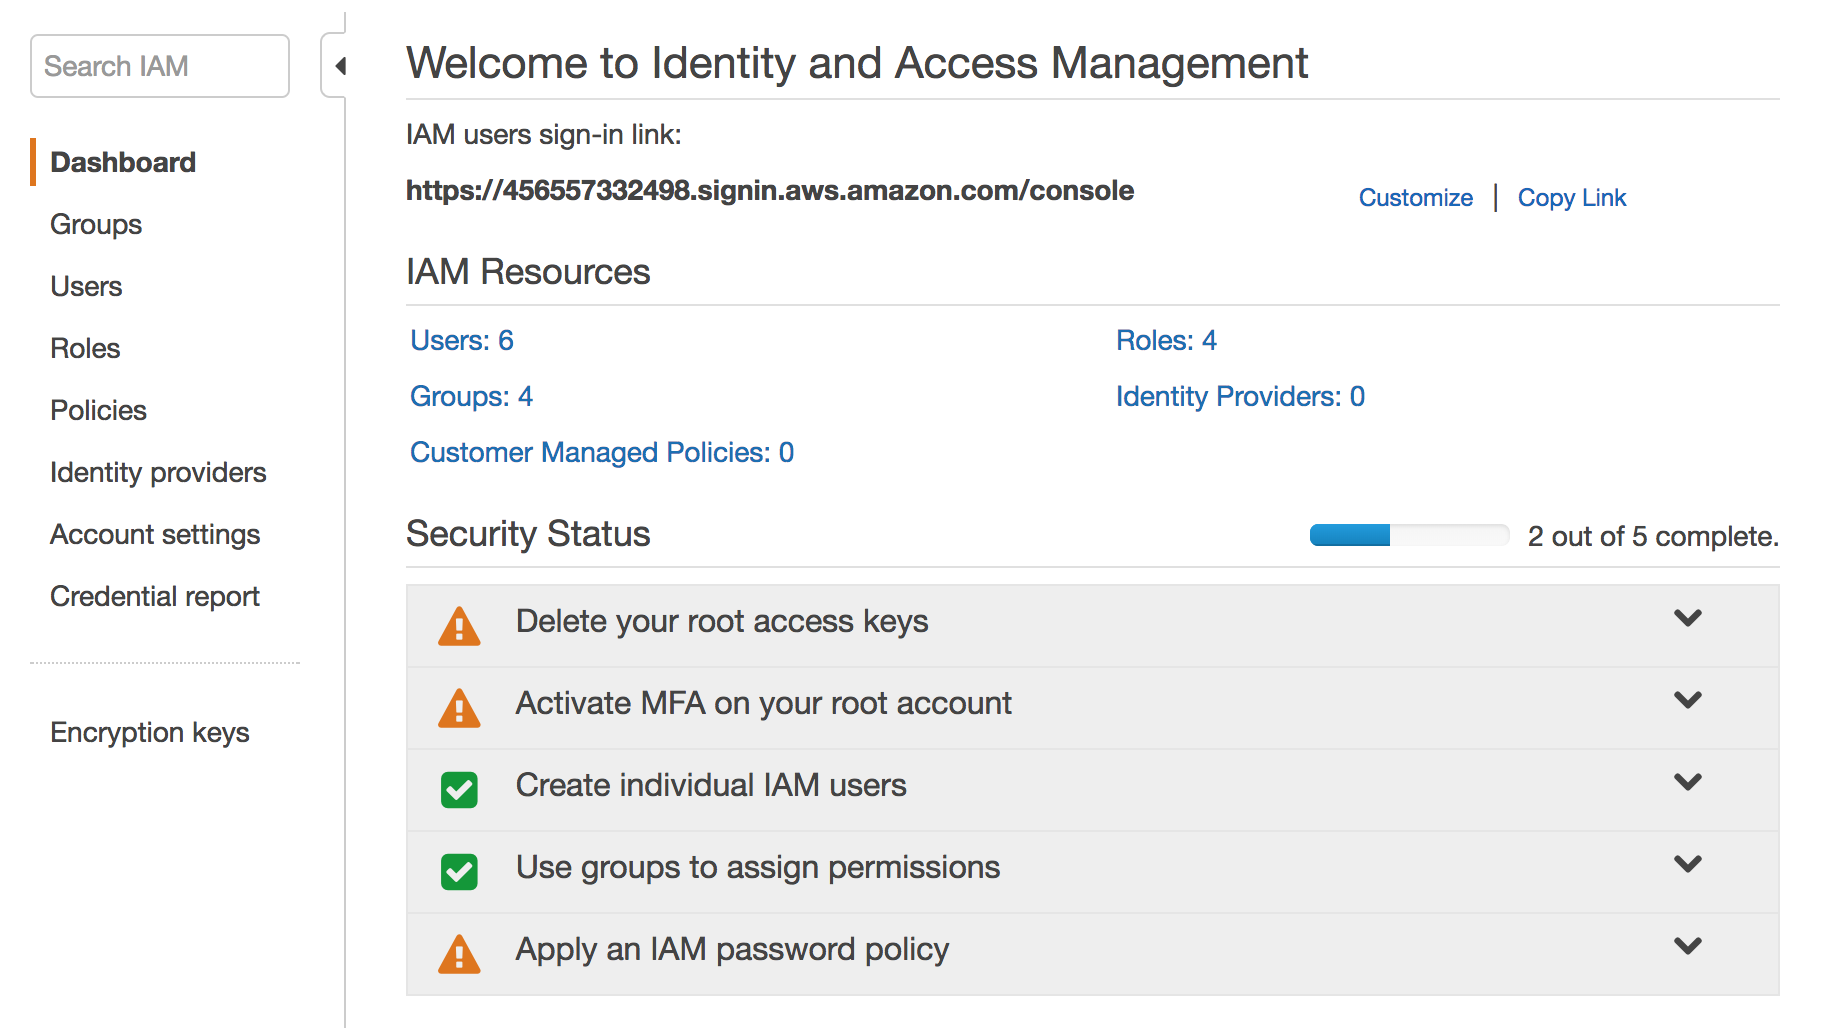
In your IAM Dashboard, take note of the custom sign-in link that your users go to for logging in:
Getting Your Custom Log In Link
Log out and use the custom link to sign in with the user credentials
Creating A New Environment in Cloud9
On the homepage, click "Create environment".
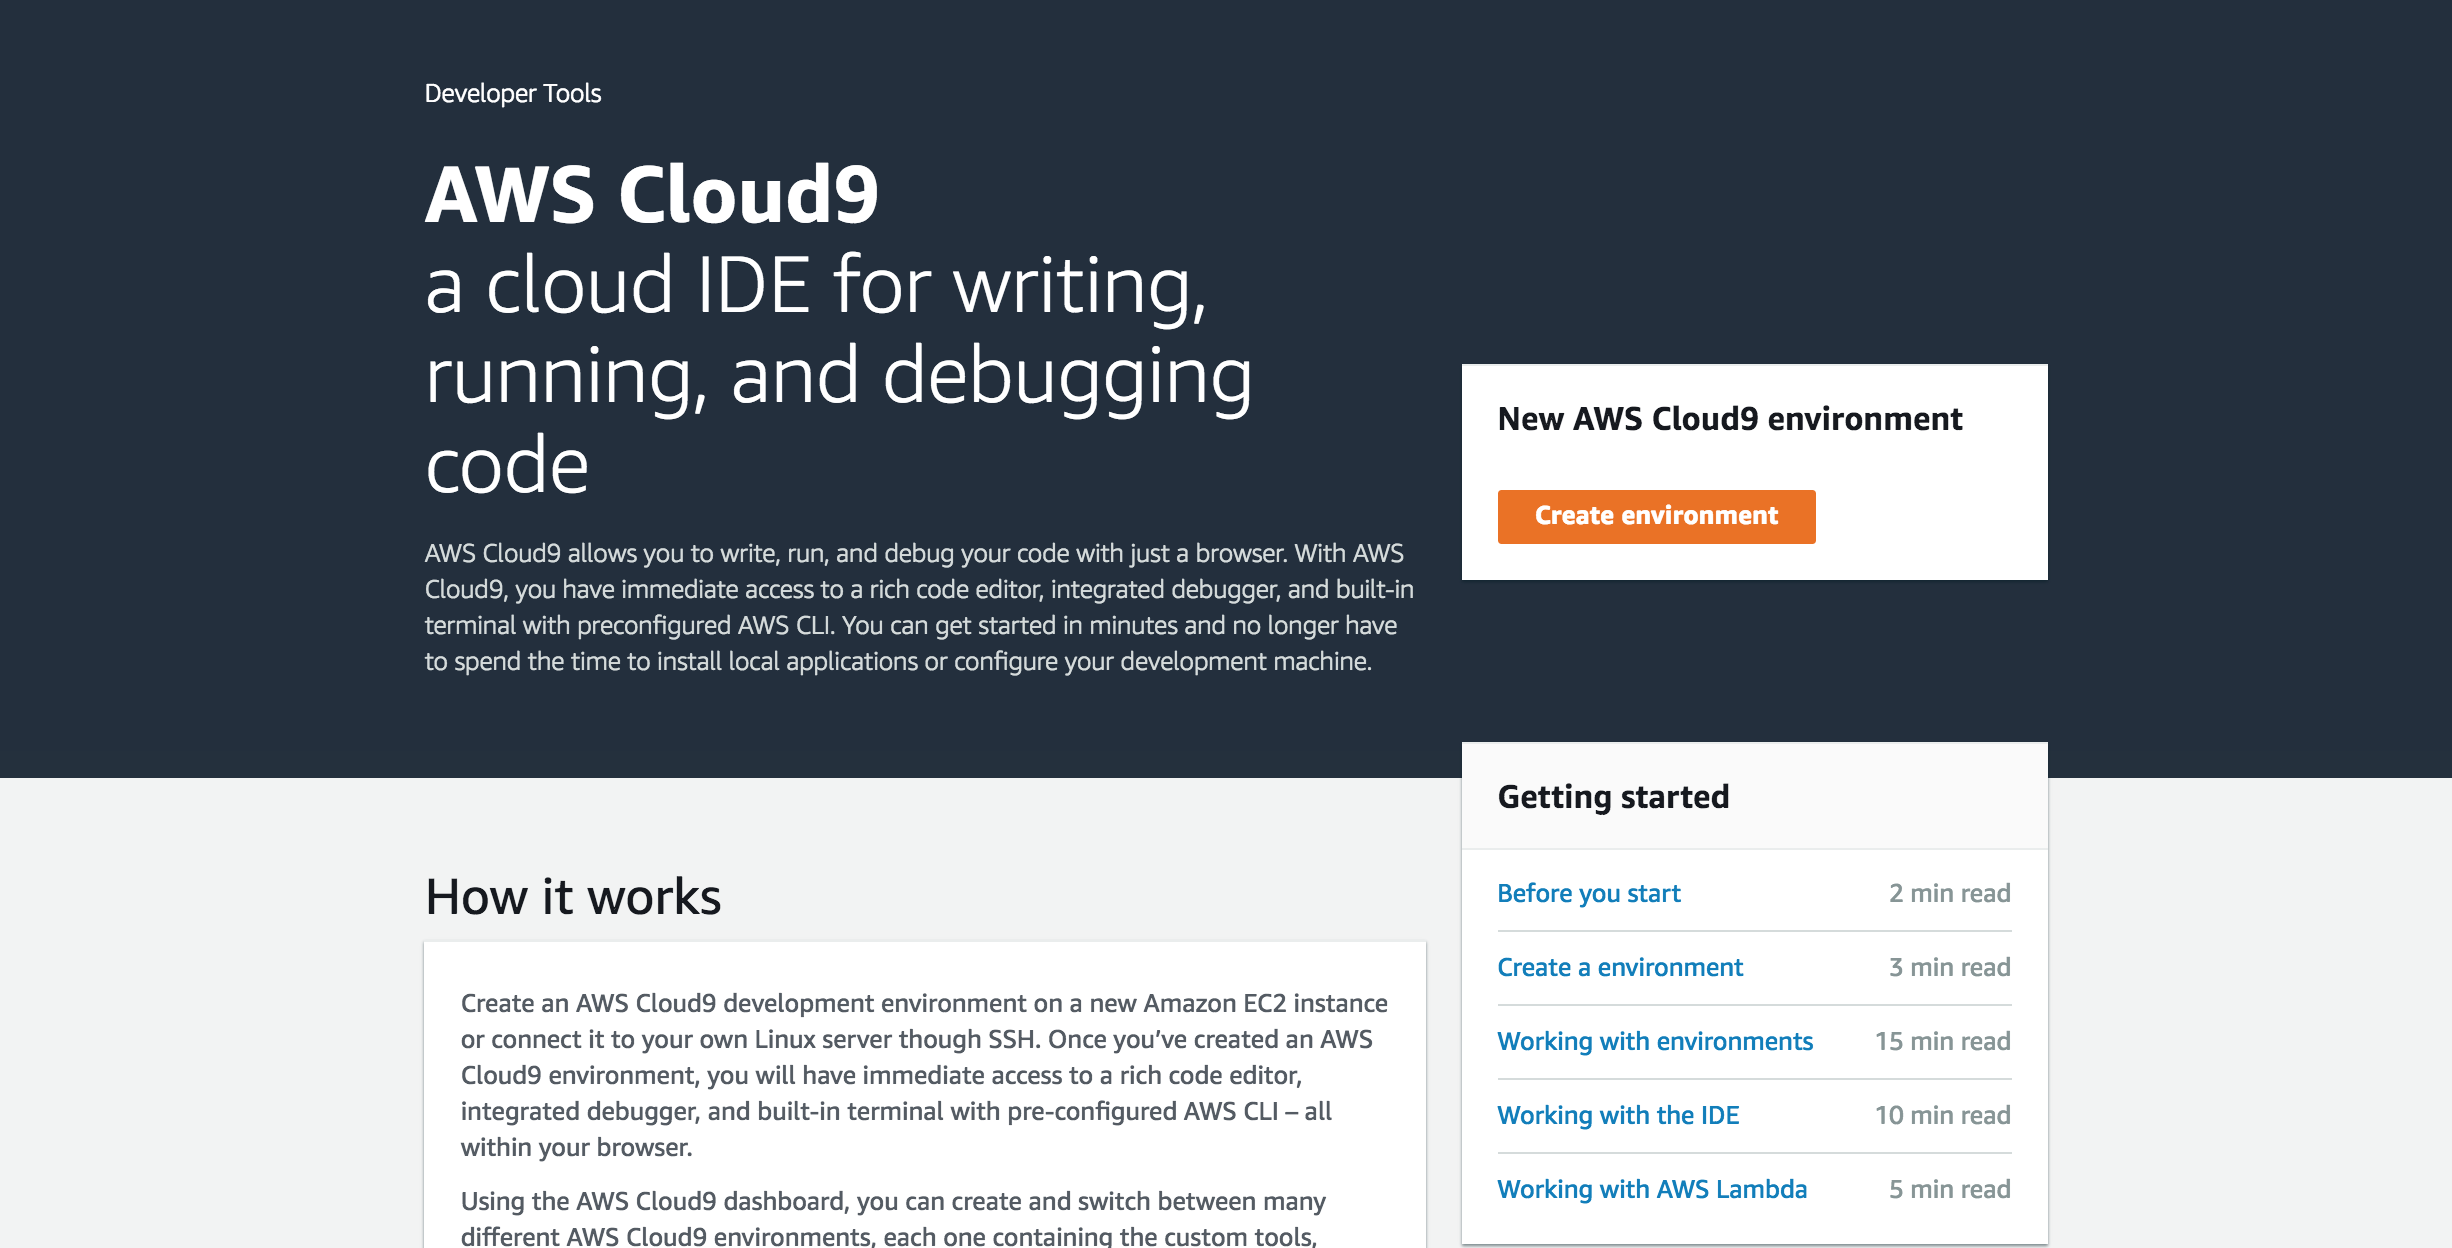
Once logged in, navigate to
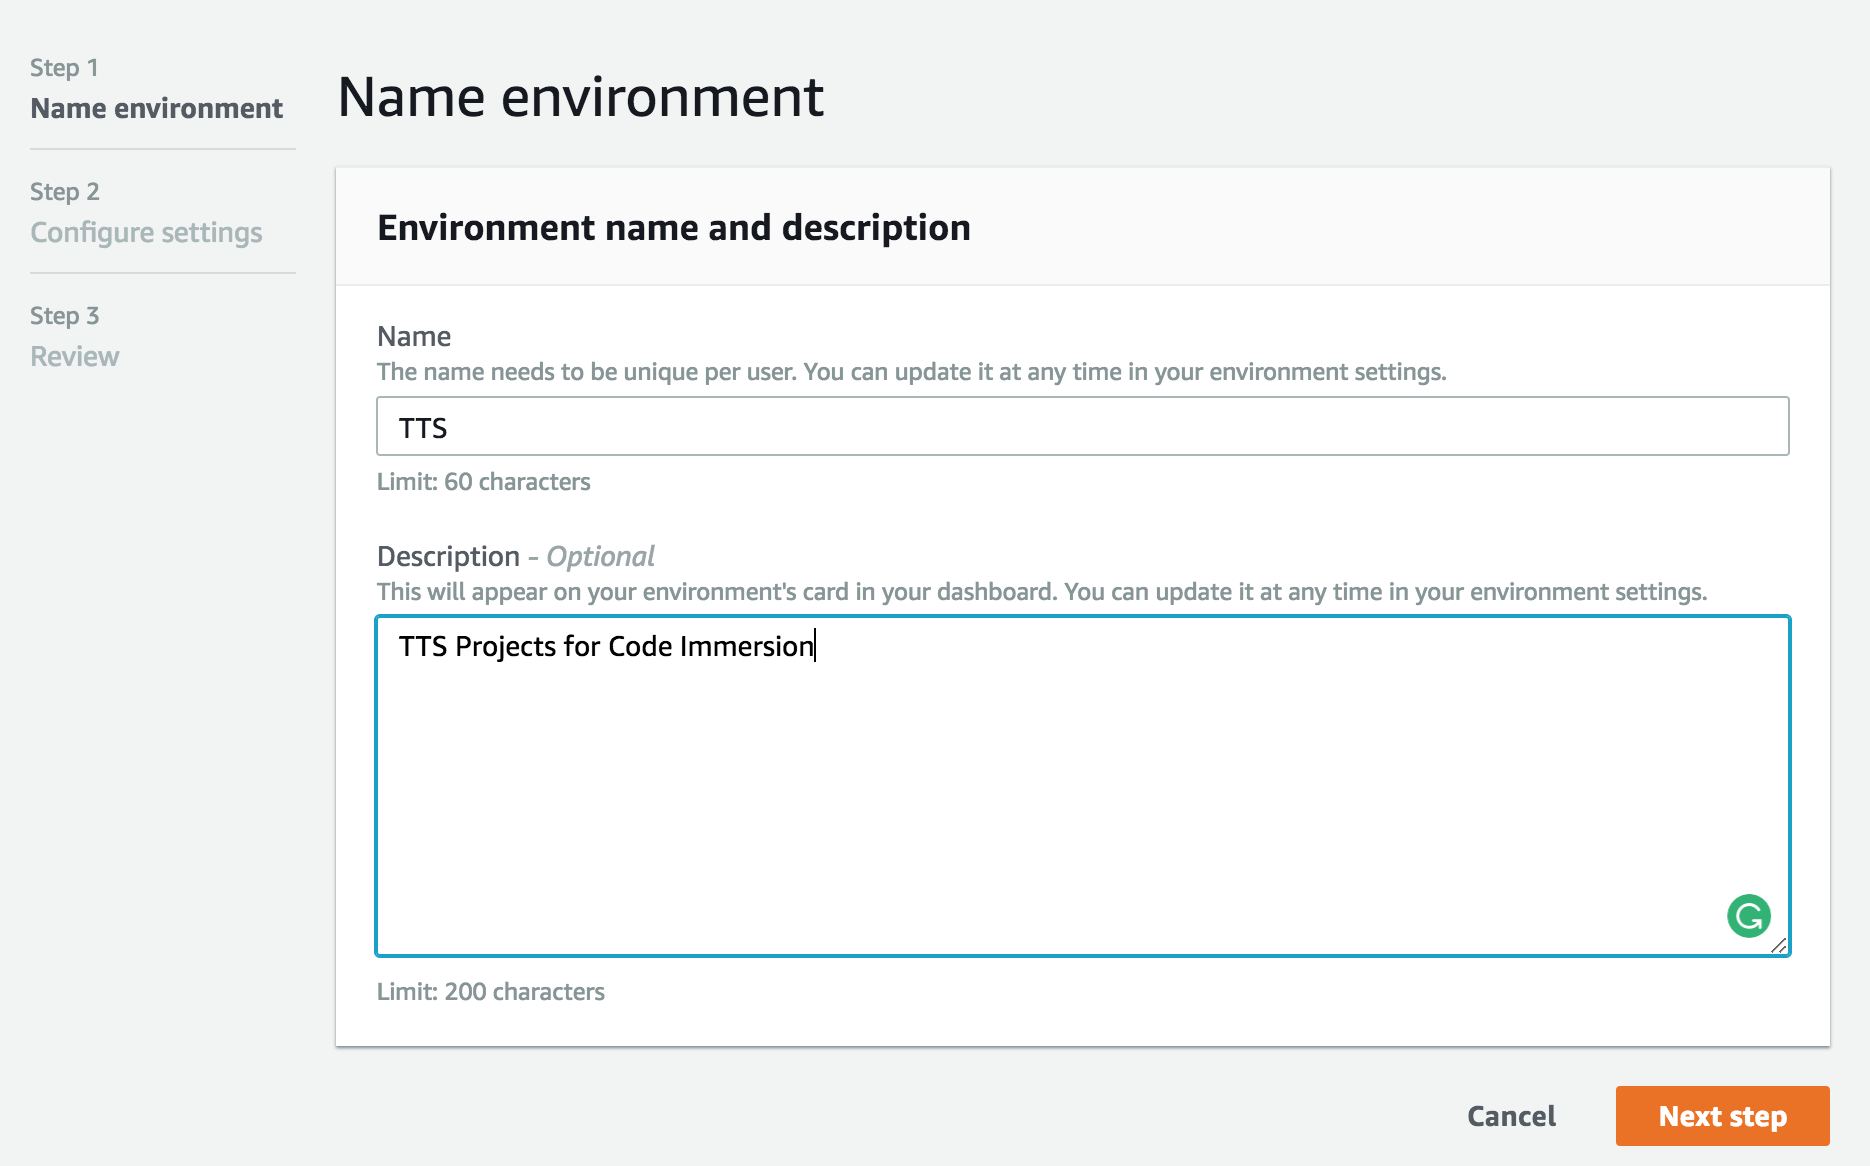
Set-up Environment
- Name the environment "TTS" with a short description.
- Click "Next step"
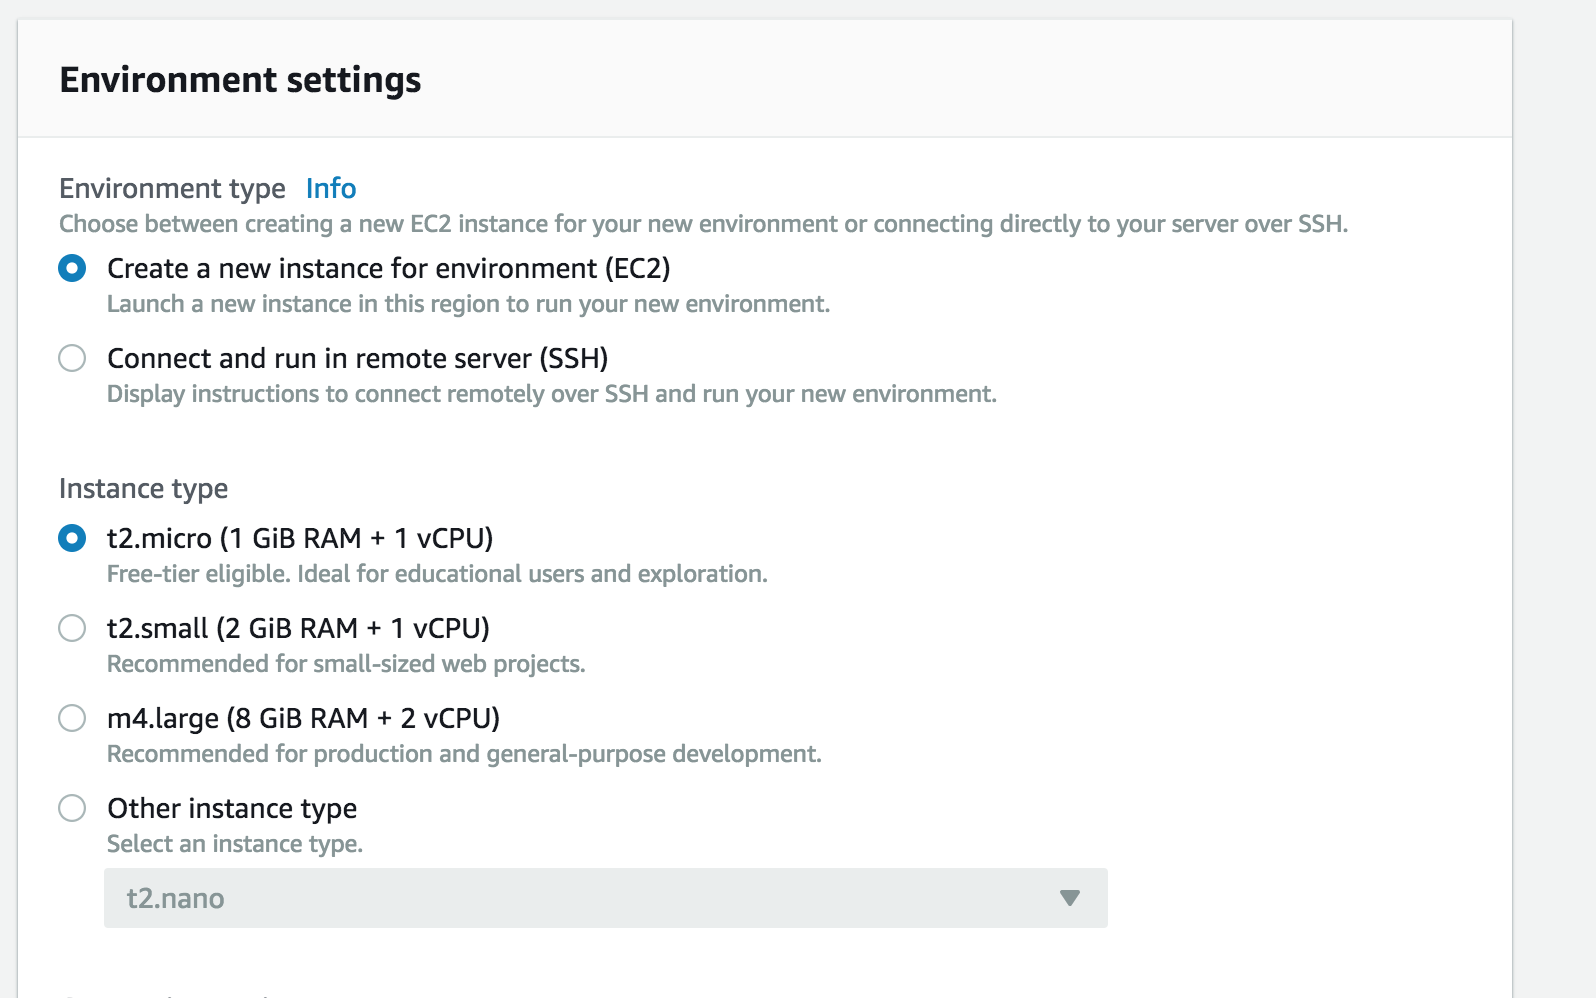
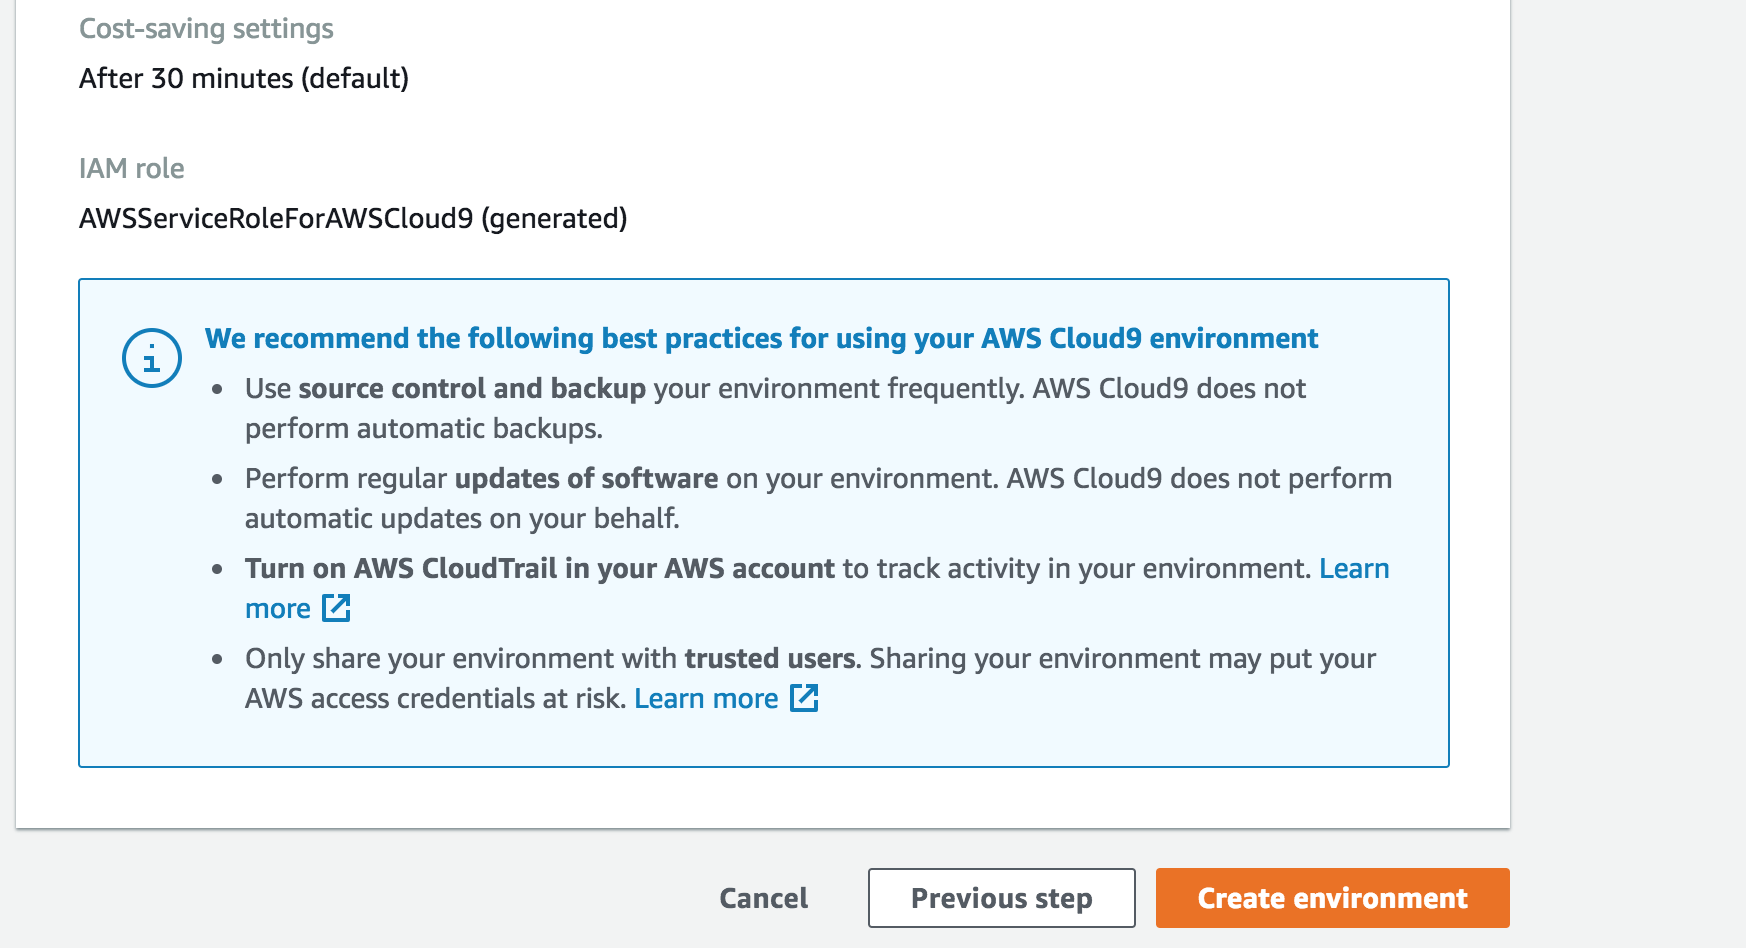
Set-up Environment
- In Environment Settings, leave the defaults as is.
- Click "Next step"
Set-up Environment
- In the Review, click "Create environment"
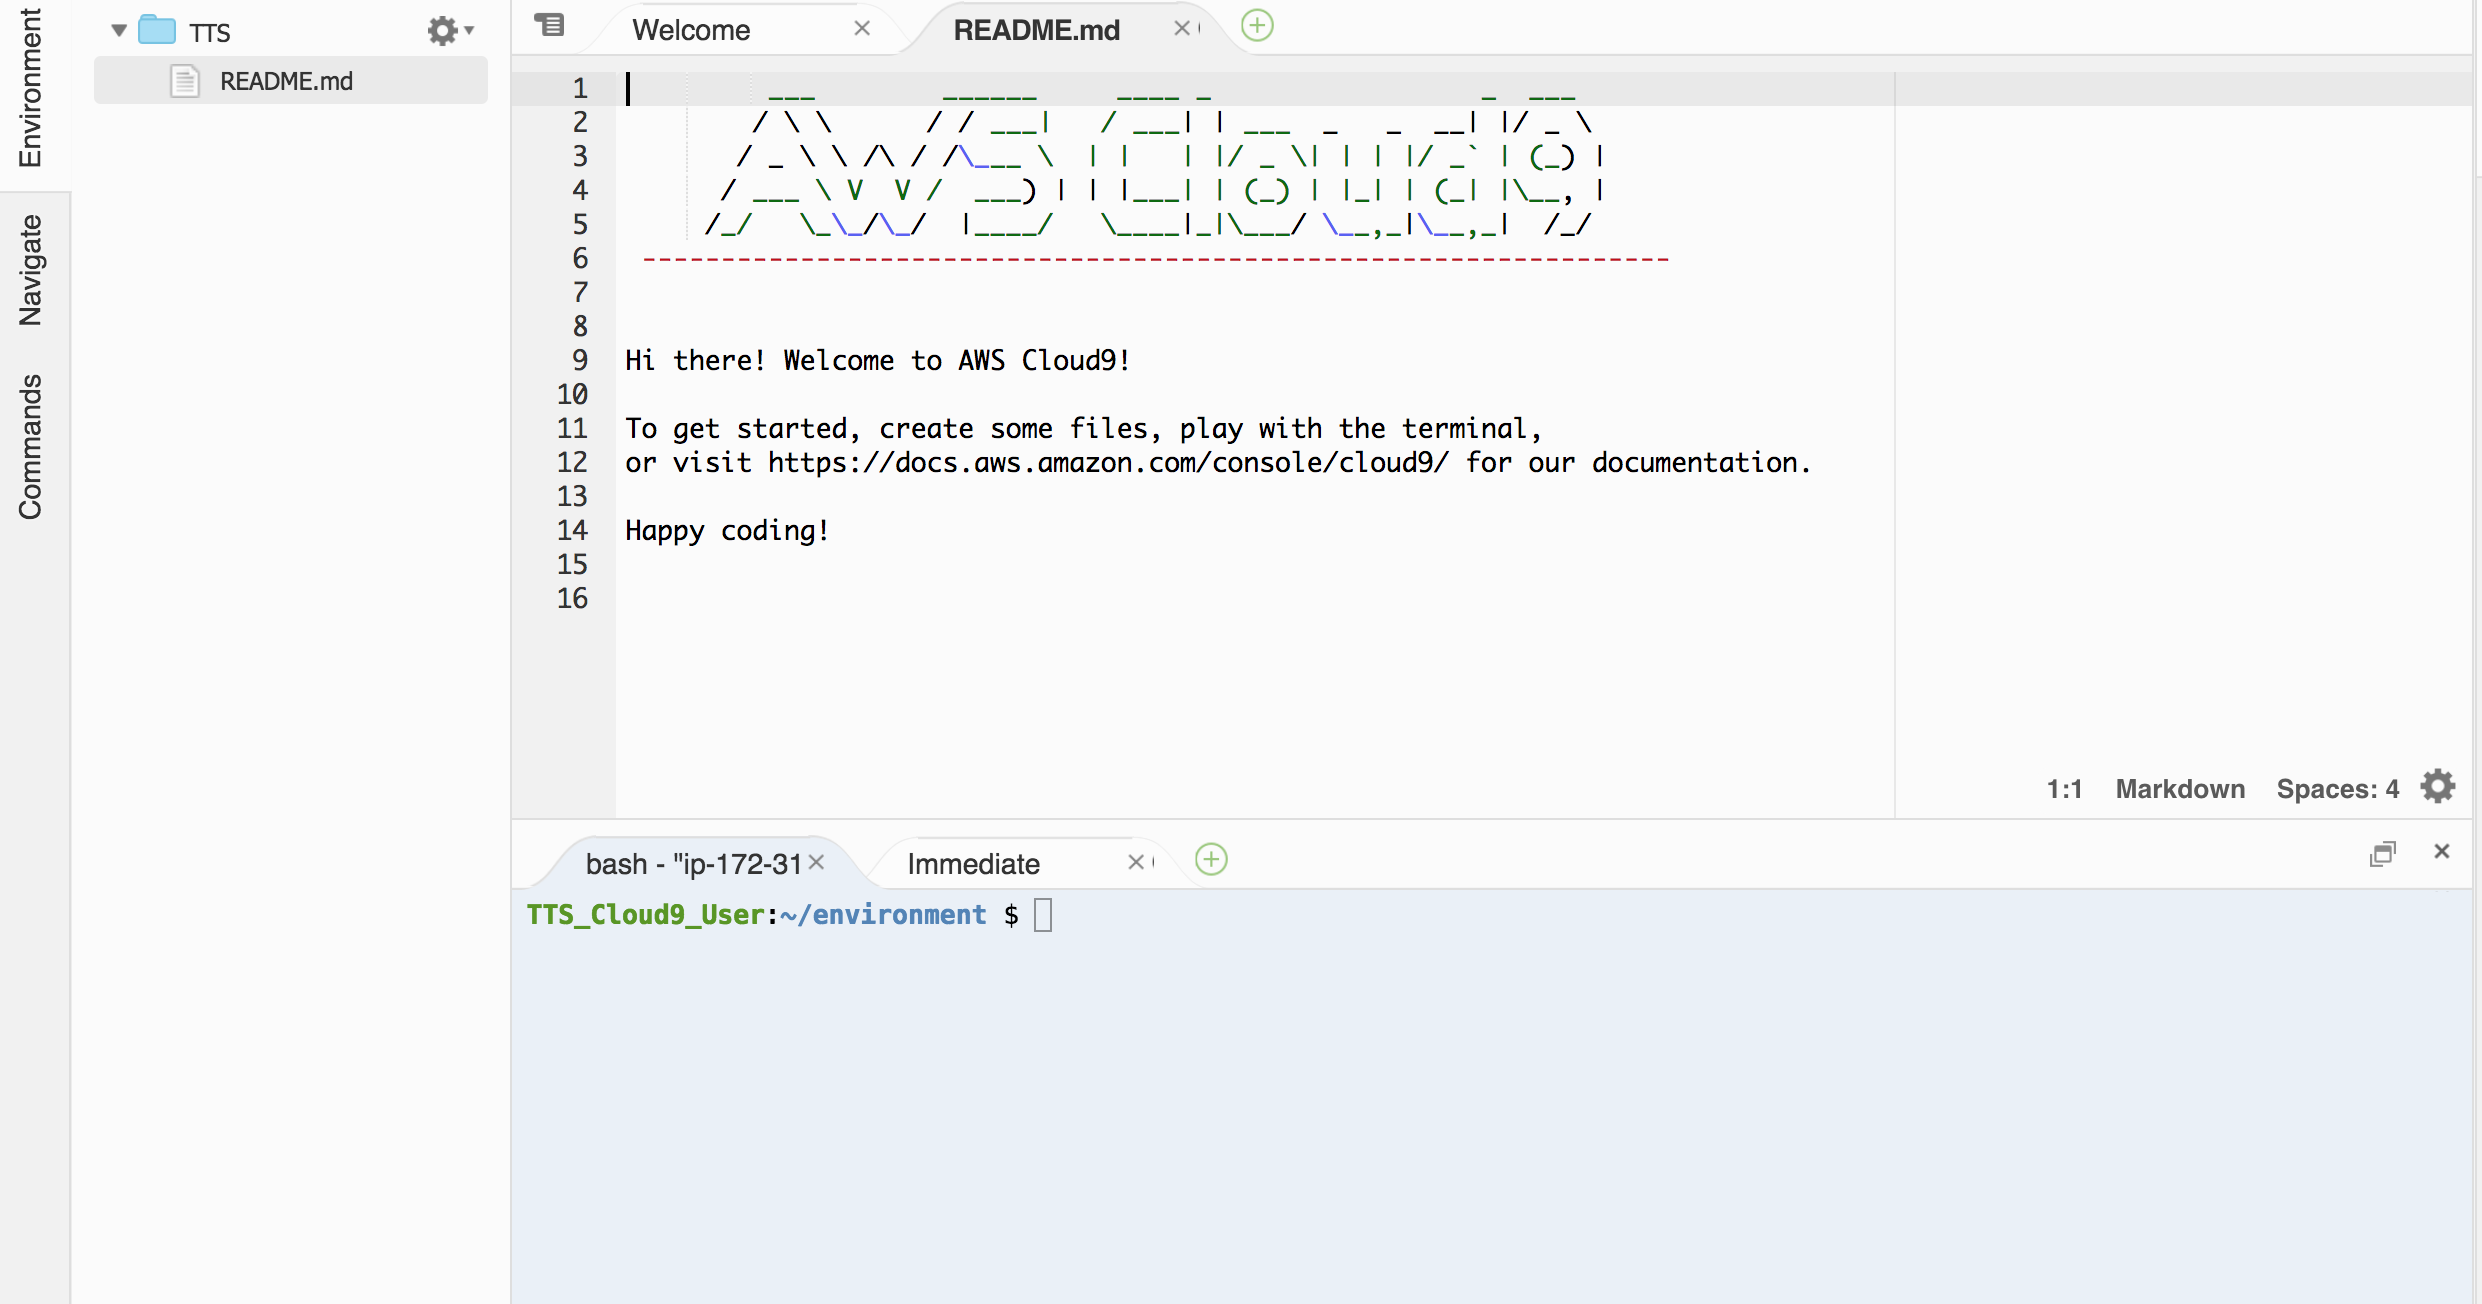
Your new Cloud 9 Environment
Your new environment has three areas:
1) File System Explorer, 2) Text Editor, and 3) Command-line Shell
1
2
3
Your new Cloud 9 Environment
File System Explorer: This area show structure of the folders and files in the working directory
Text Editor: This is the area where the project code is written and edited.
Command Line Shell: This area is for using command line prompts that will help us navigate through our file structure and build projects in Rails. Knowing command line prompts is very important. The command prompt in Cloud9 follows the same prompts as the OS Terminal. For an overview of essential commands, check out this list.
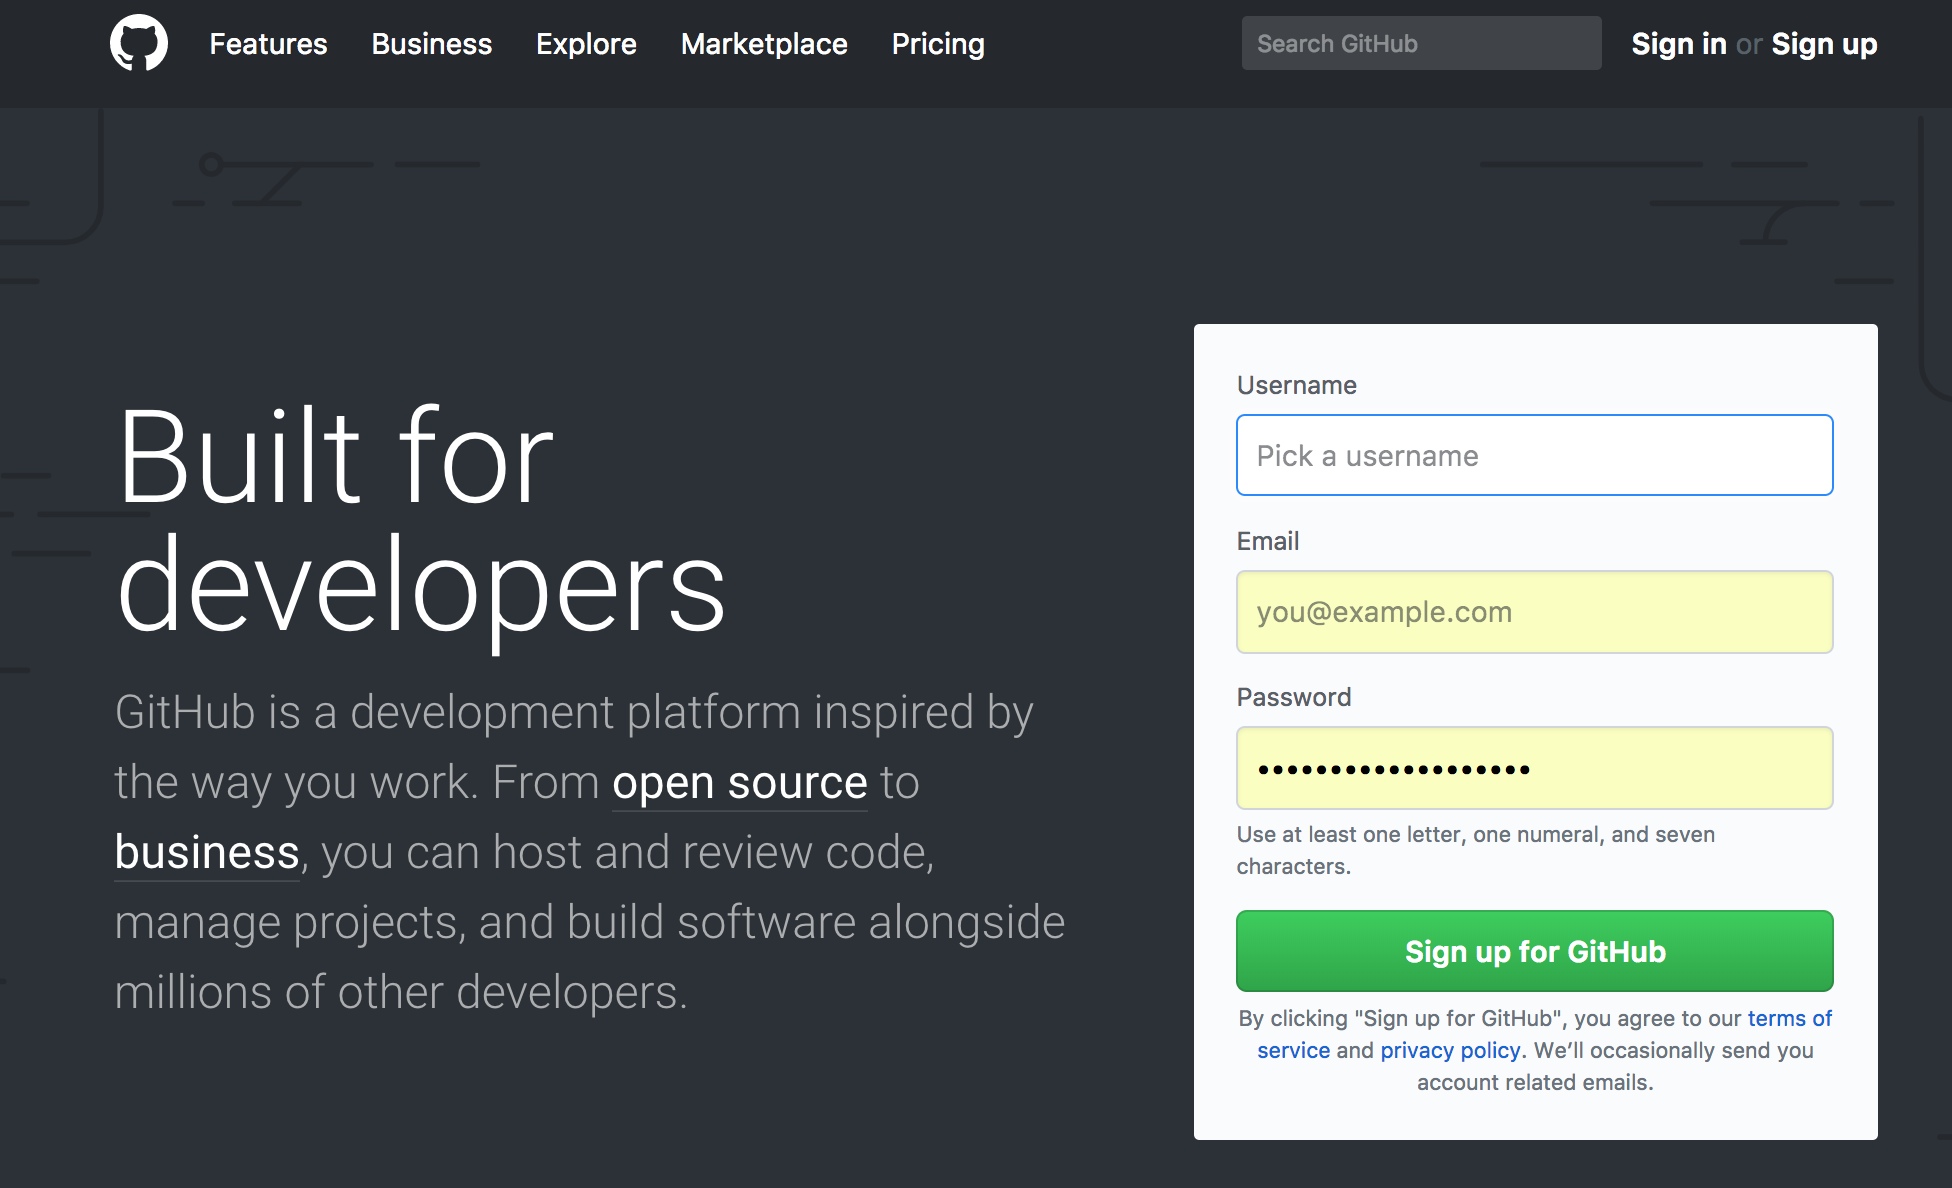
Setting Up Github on Cloud 9
If you haven't already done so, sign up at for an account at Github. It's free and it will act as your coding resume.
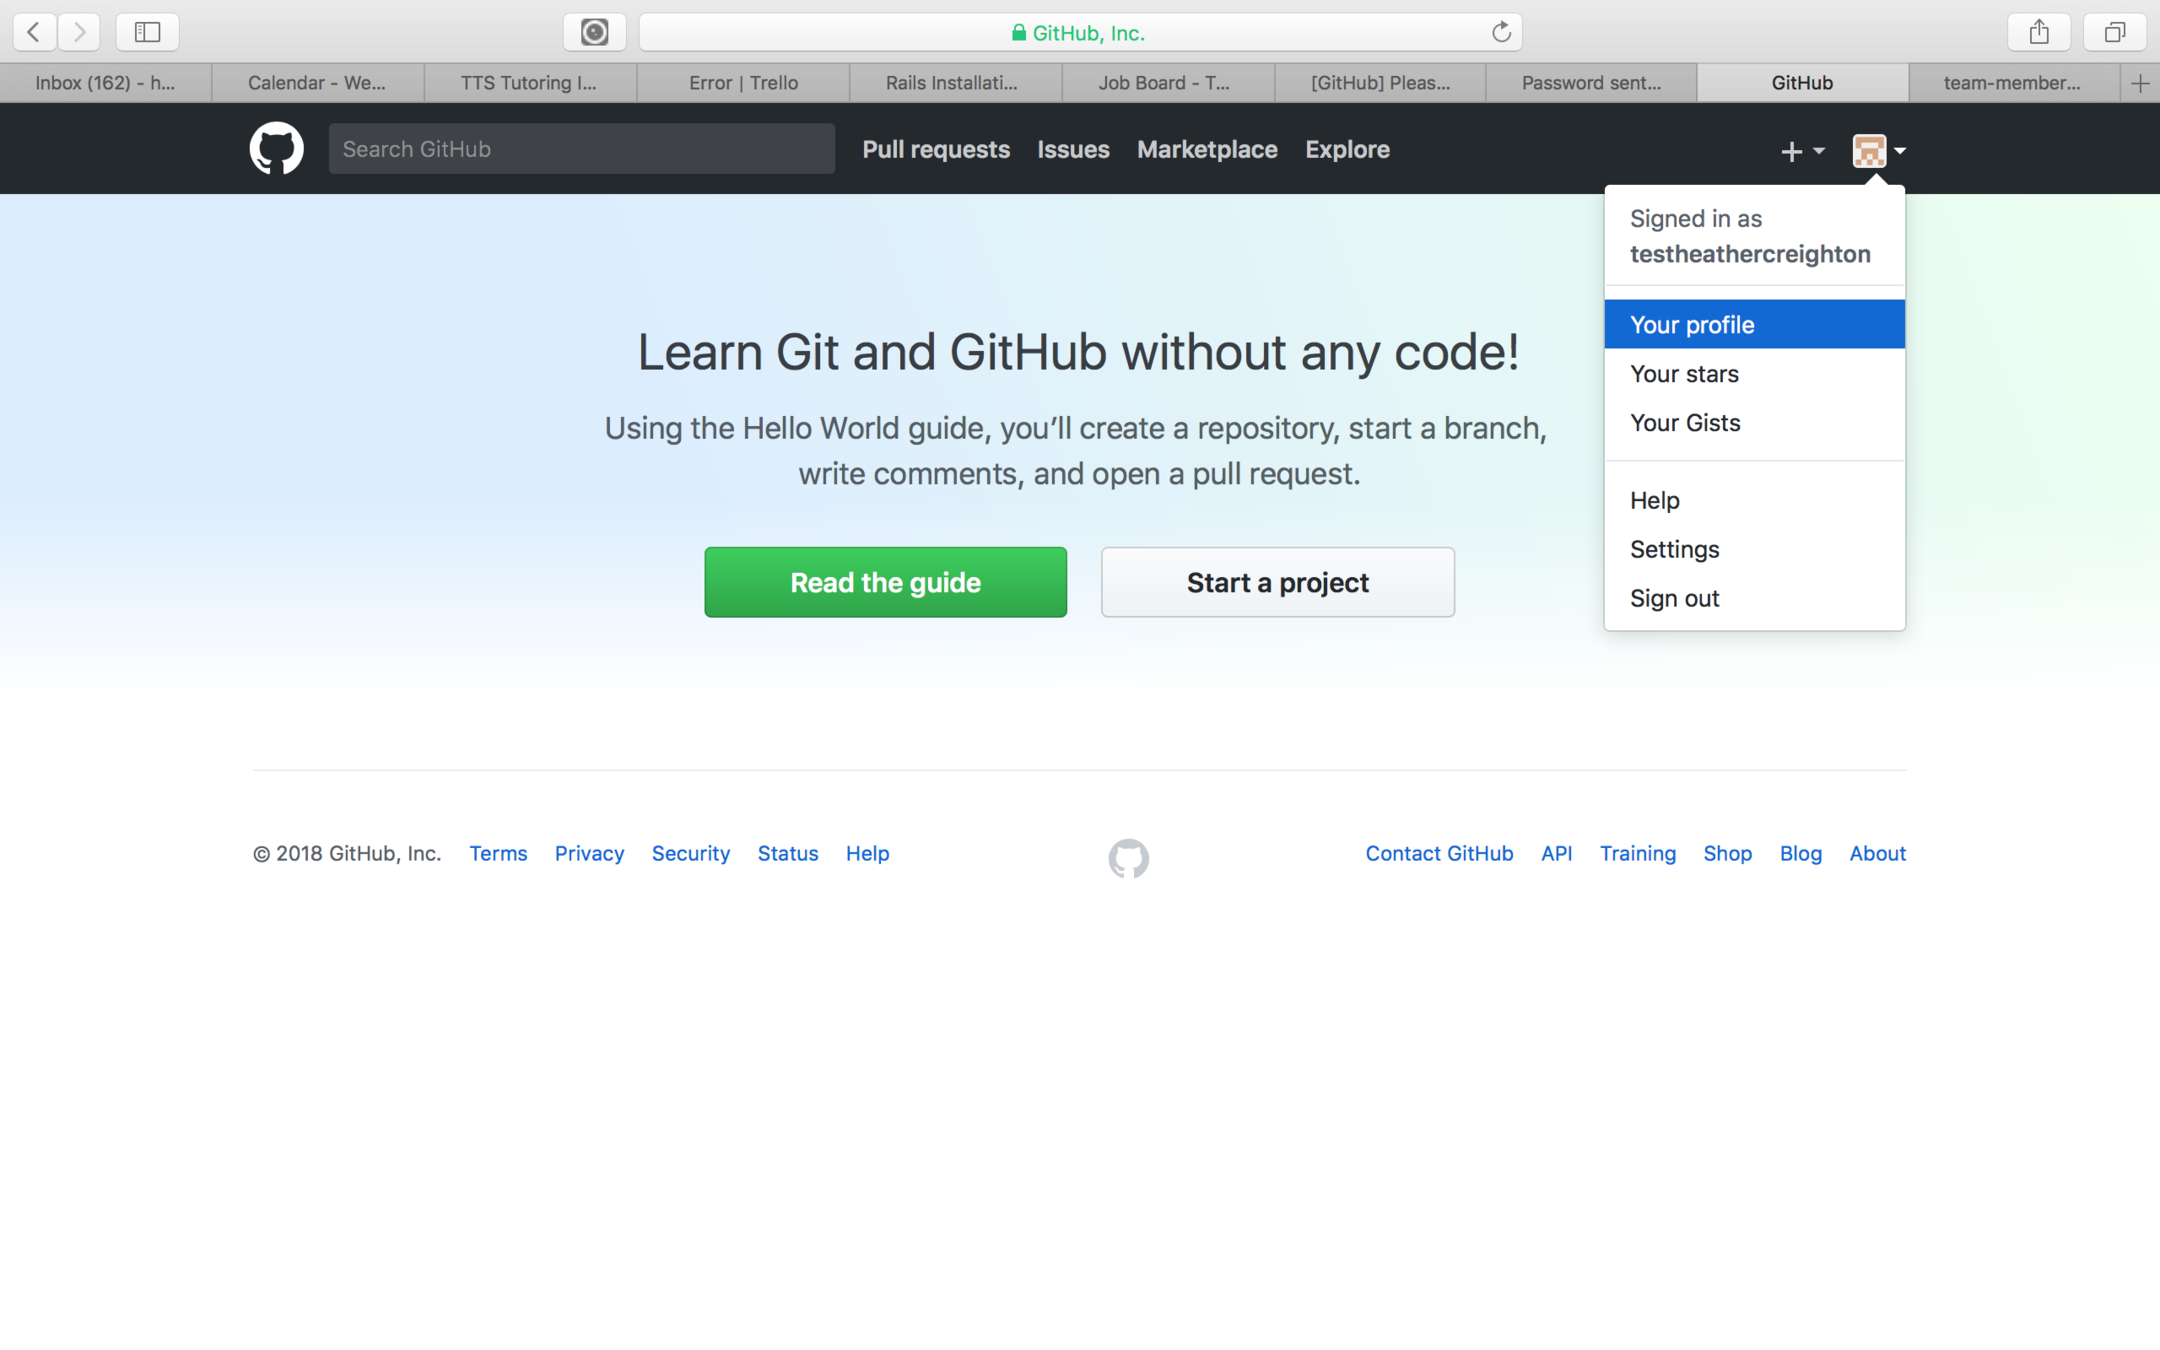
Setting Up Github on Cloud 9
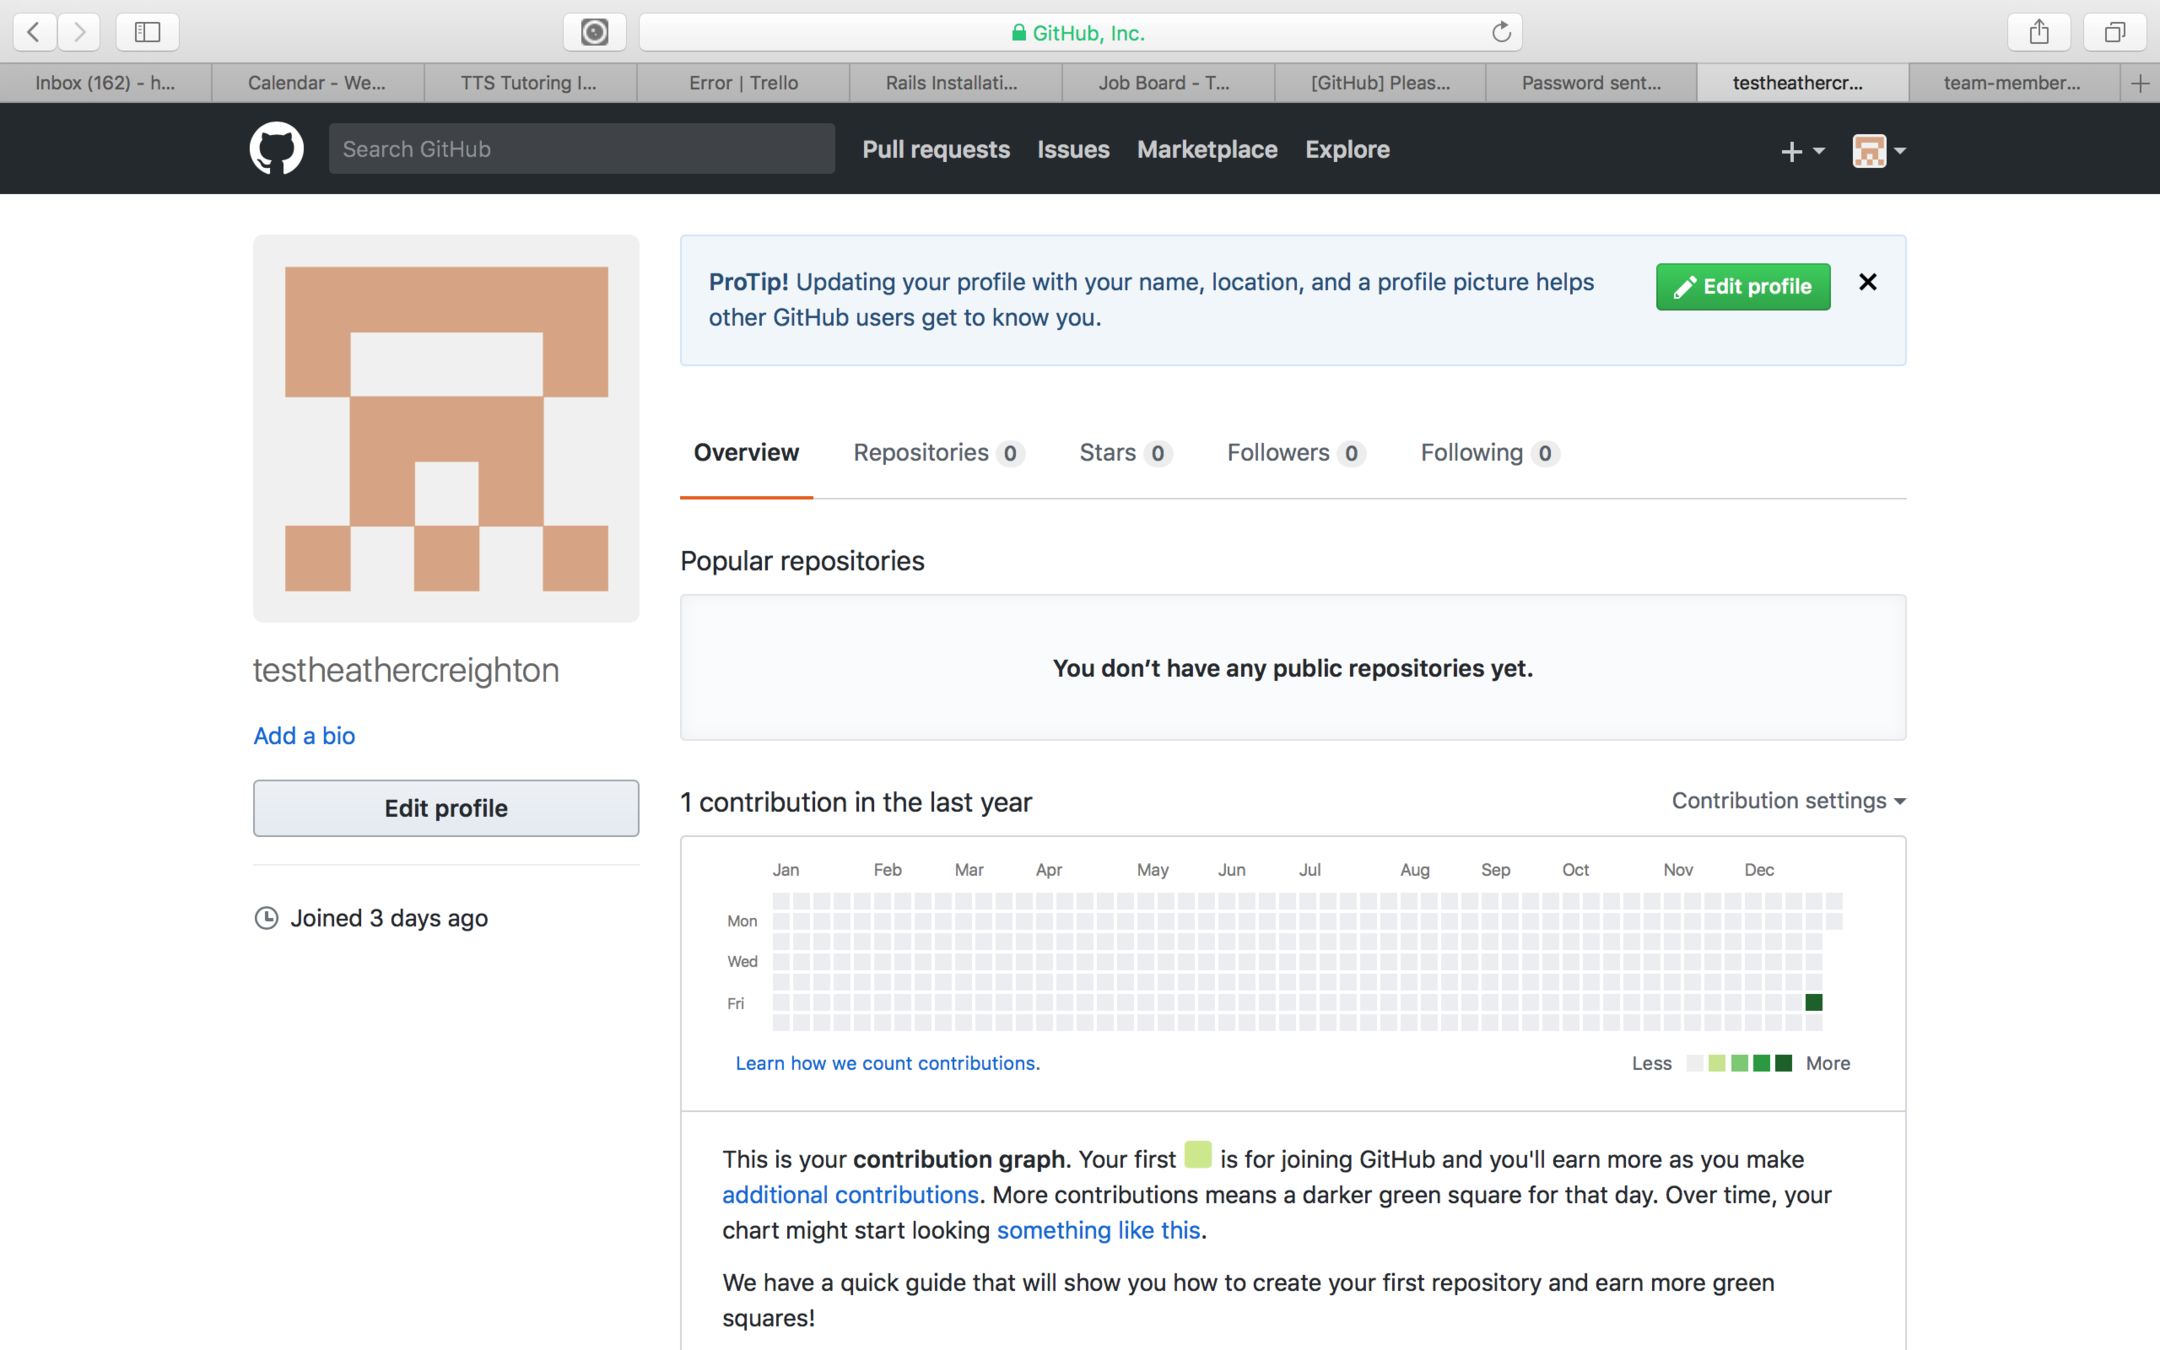
Once you've signed up, click the "+" sign next to your profile picture and choose "Your Profile"
Setting Up Github on Cloud 9
On the profile page, navigate to the left side of the screen and click the "Edit Profile" button
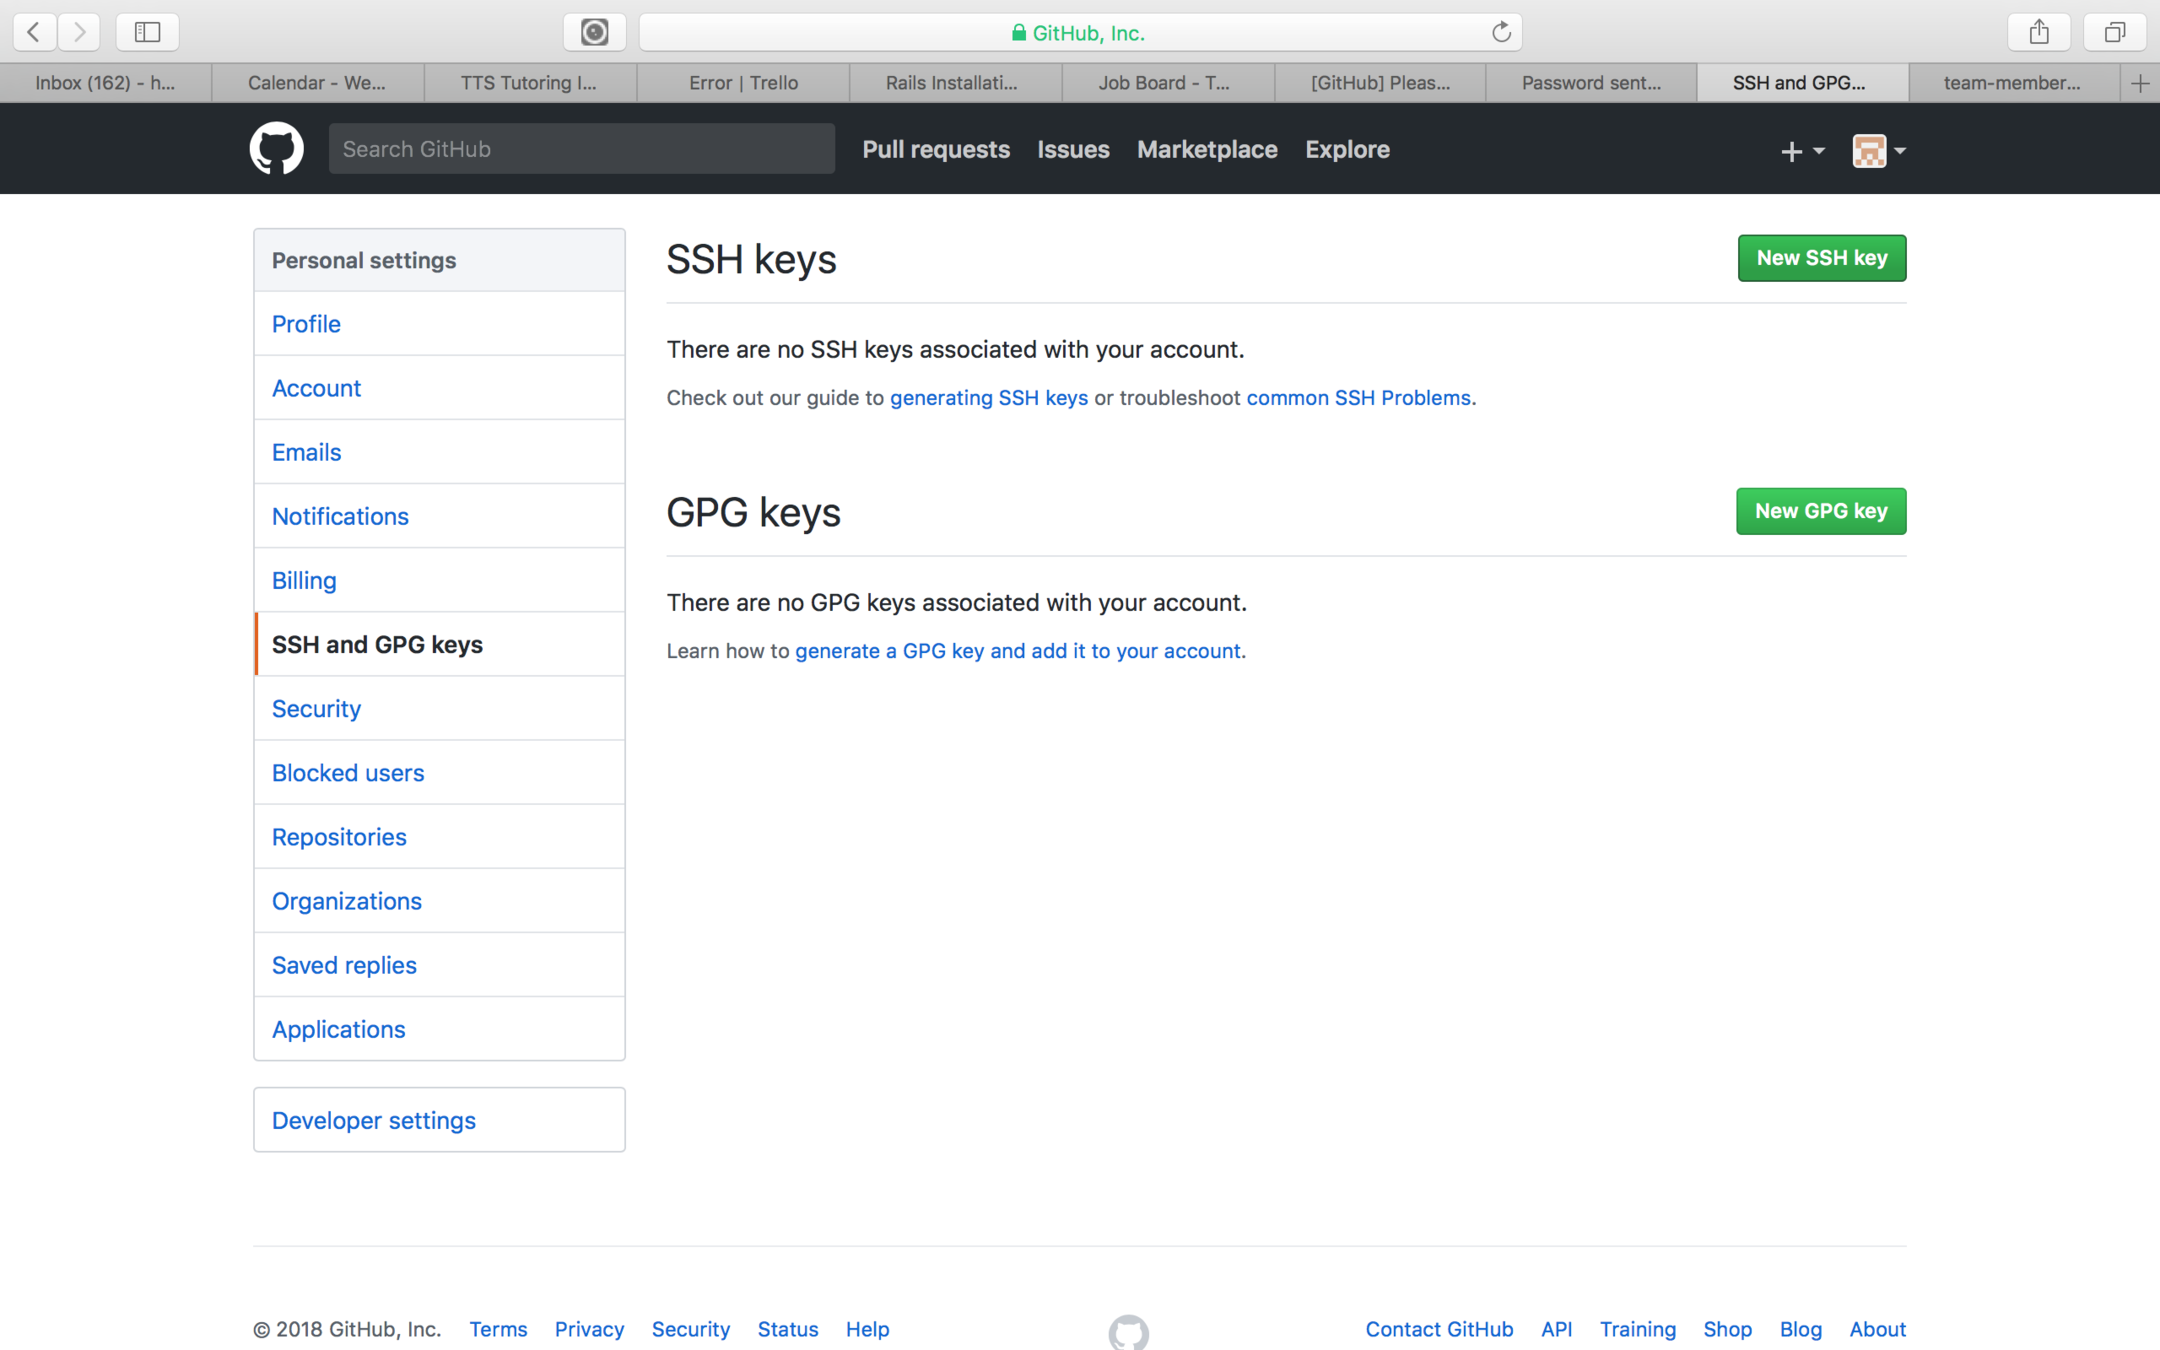
Setting Up Github on Cloud 9
Select "SSH and GPG Keys". Click the green "New SSH Key" button.
Generating A New SSH Key
Our next step will be to get our SSH key for our enviroment. This key will be used later to connect our workspace to Github. In the terminal, type the following command:
$ ssh-keygen -t rsa -b 4096 -C "your_email@example.com" Substitute the email used for signing up for GitHub:
You will be returned a similar response:
Generating public/private rsa key pair.
Enter file in which to save the key (/home/ec2-user/.ssh/id_rsa):
Enter passphrase (empty for no passphrase):
Enter same passphrase again:
Your identification has been saved in /home/ec2-user/.ssh/id_rsa.
Your public key has been saved in /home/ec2-user/.ssh/id_rsa.pub.
The key fingerprint is:
SHA256:uNiCpjy05AZ+mEgK0bfWbB+q3RSYAsCZx+Ki2vj64S0 heather.creighton@gmail.com
The key's randomart image is:
+---[RSA 4096]----+
|o +              |
| * o             |
|..+              |
|o....  +         |
|o. ..++ SSS      |
|++ .o++...       |
|%oB.o.oo....     |
|*%E+ o.o.        |
|+=*.o.. .        |
+----[SHA256]-----+
Generating A New SSH Key
$ eval "$(ssh-agent -s)"
$ ssh-add -k ~/.ssh/id_rsa
$ cat ~/.ssh/id_rsa.pub
Continue by typing the following into your Cloud 9 terminal:
This last step will return the ssh key for your environment. Here's an example of what is will look like:
ssh-rsa AAAAB3NzaC1yc2EAAAADAQABAAACAQCnk1lvp3pa9koMWRM30zBcsdCFnlD4MRu4wmdt8MSrwnNibUtIFm8LbR/4m2dH+jwzddG+O13/2a7dqUUR6J97lOaz0+OEz1VlFsC+7lauKIyf
hfLx6stkZygHfHZlLx7TECoELQSCCeIjhWbNQ0rzLP9qs4iWdZ3p5SD61iabDkmNszhUlT+zQc+sp/WGx6Nk/INPbTeRhVS3lAlZC1uMPMgHxE4Ob3J+oHMBBSgVuEUKLZdA5UdneaQ+
DaiJ2WARnlZphynPWGMgXTmOl2Xn7blpv3970qDg4KYQYeYp0yQBzSrFOrrjjuerTQgZPZgc4lYd5eD5omKyqoI3w01K8VZLqtJ40kyI+xQurabnXE+p066QvekD4vH/O7FurK9fLsQI
trC40rW1aYTCRFrxGfvSl8YiiFBVmTJl12JVBA4KY/72wFq14jkvNn6Mic0FpyXoWuuzjAMQPk1pHEjLsP1vJLGY7e6oQFb9WCkzXNWhStIwWlYGPHJUloekYb/y3QfYtGg8AB1i+6vW
WVUPEoVcWfHVO8lNOFyXNqRmozGcDpOxsSV28ombOv9kYyAIO+51Bgi9ix21IMDpsGgxcbbDClsQZdI7ftsx2T9fNJqKLq7td14pc2ovdArqwWn9oUGksP/lwwozWatle7Dwa2yeMmNn
VYPcAj41mGVZNcGw== YOUR_EMAIL.COM
Setting Up Github on Cloud 9
Add your key to Github and click "Add SSH Key" when done.
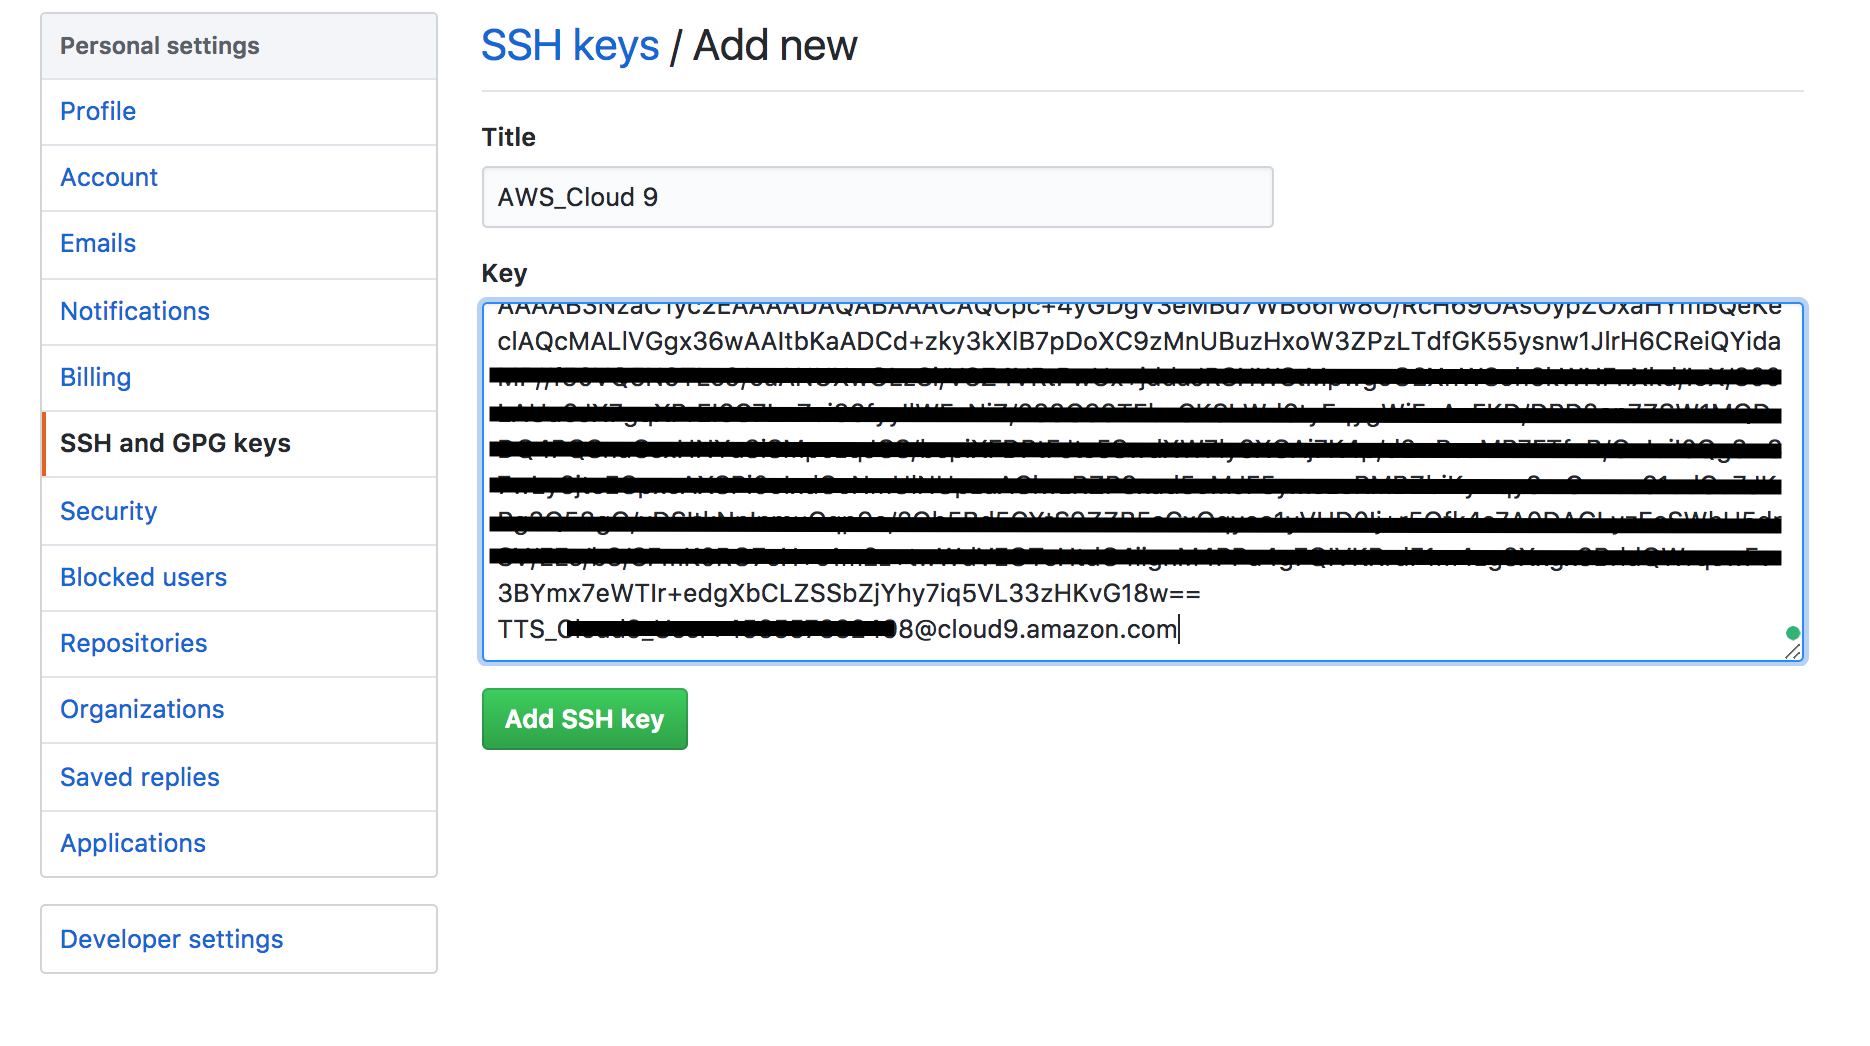
Setting Up Github on Cloud 9
Back in Cloud9, in the command line prompt, add the following code:
~/environment $ git config --global user.name "YOUR GITHUB USERNAME"
~/environment $ git config --global user.email YOUR_EMAIL_ADDRESS
Make sure to add YOUR Github username and the email you used to sign up with Github.
Setting Up Heroku on Cloud 9
Before you begin, make sure to sign up for a free account with Heroku

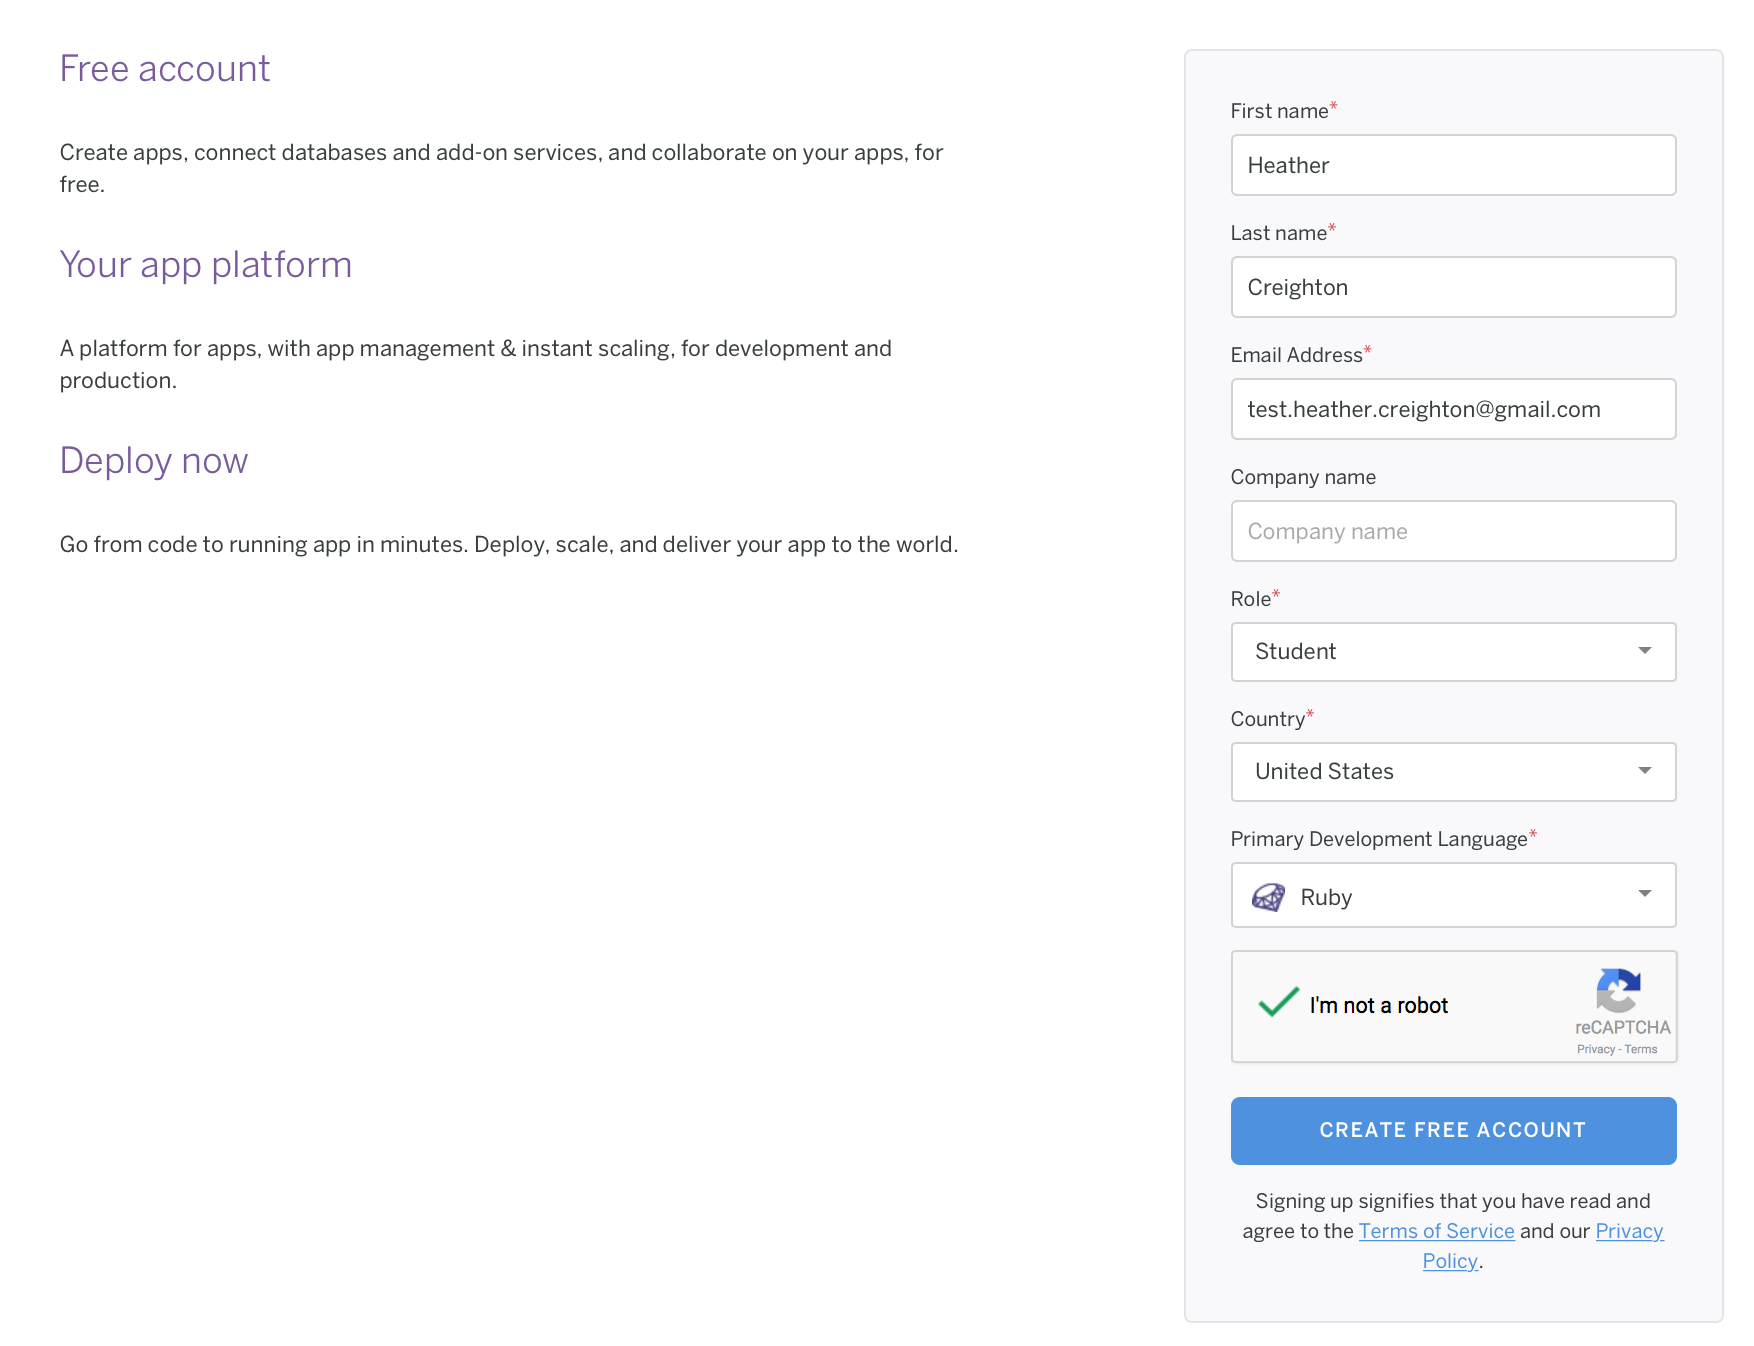
Setting Up Heroku on Cloud 9
Now, we have to install the Heroku CLI in Cloud 9. In the command line area, add the following commands:
$ sudo yum -y update$ curl -o- https://raw.githubusercontent.com/creationix/nvm/v0.33.0/install.sh | bash$ export NVM_DIR="/home/ec2-user/.nvm"
$ [ -s "$NVM_DIR/nvm.sh" ] && \. "$NVM_DIR/nvm.sh"$ nvm install node$ npm install -g heroku-cli$ npm install -g cli-engine-command@^8.0.0$ heroku --version$ npm install -g cli-engine-config@^3.0.0Check to see that Heroku has been installed:
Your set-up is complete!
Now that you are set-up, let's go over a couple of things:
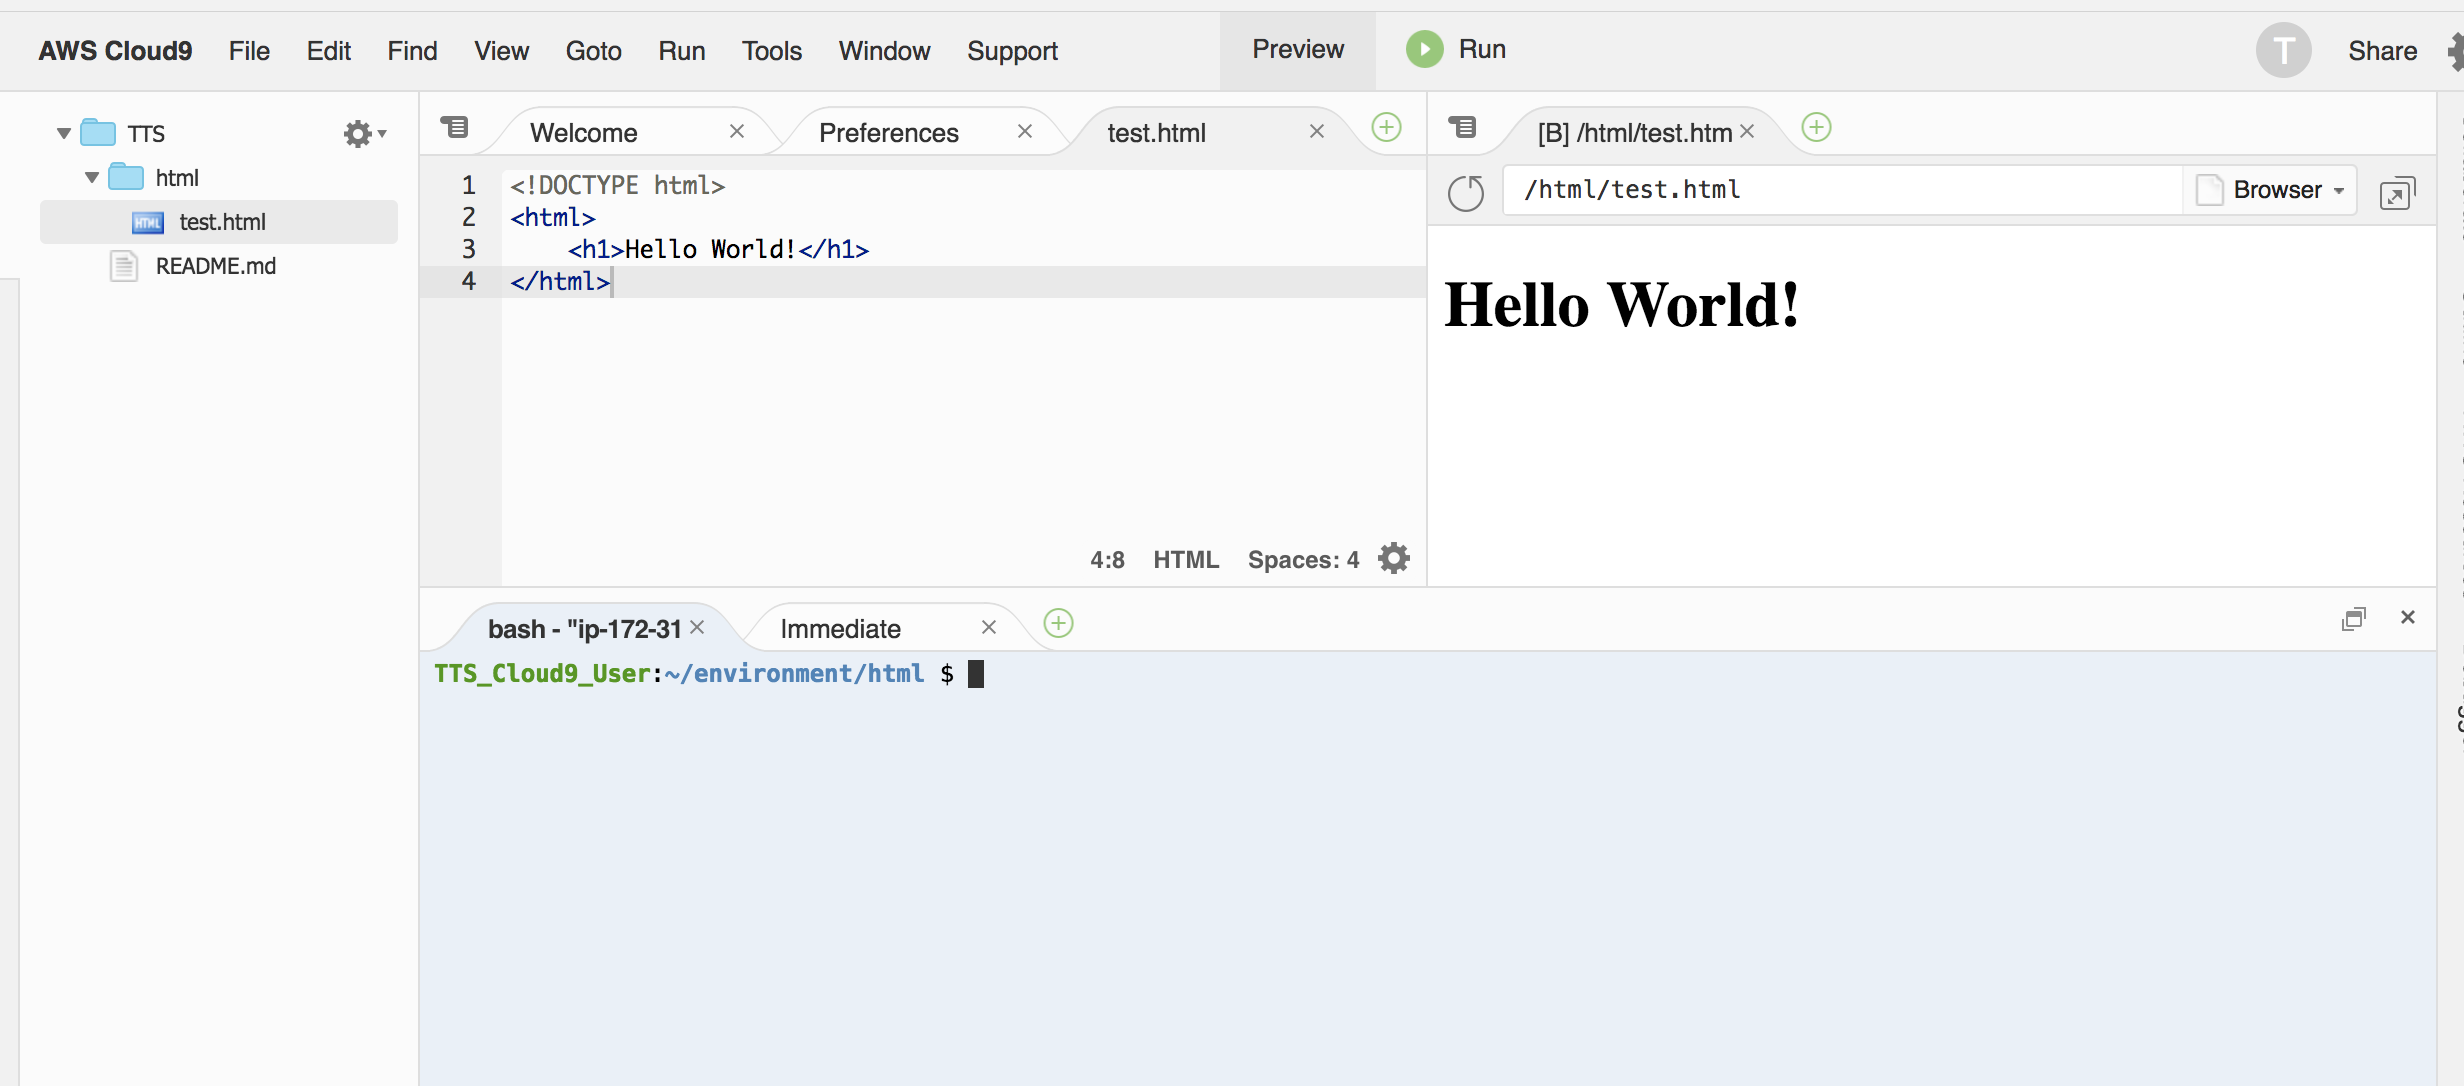
- When working with HTML documents, you will preview your rendering using the "Preview" link at the top of the workspace:
Your set-up is complete!
When working with Rails applications, you will click the "Run" button to see a rendering of your code:
Your set-up is complete!
- It is important to save your work often. To save your progress, you can choose "File -> Save", or click "cmd + S" ("ctrl + S" on Windows).
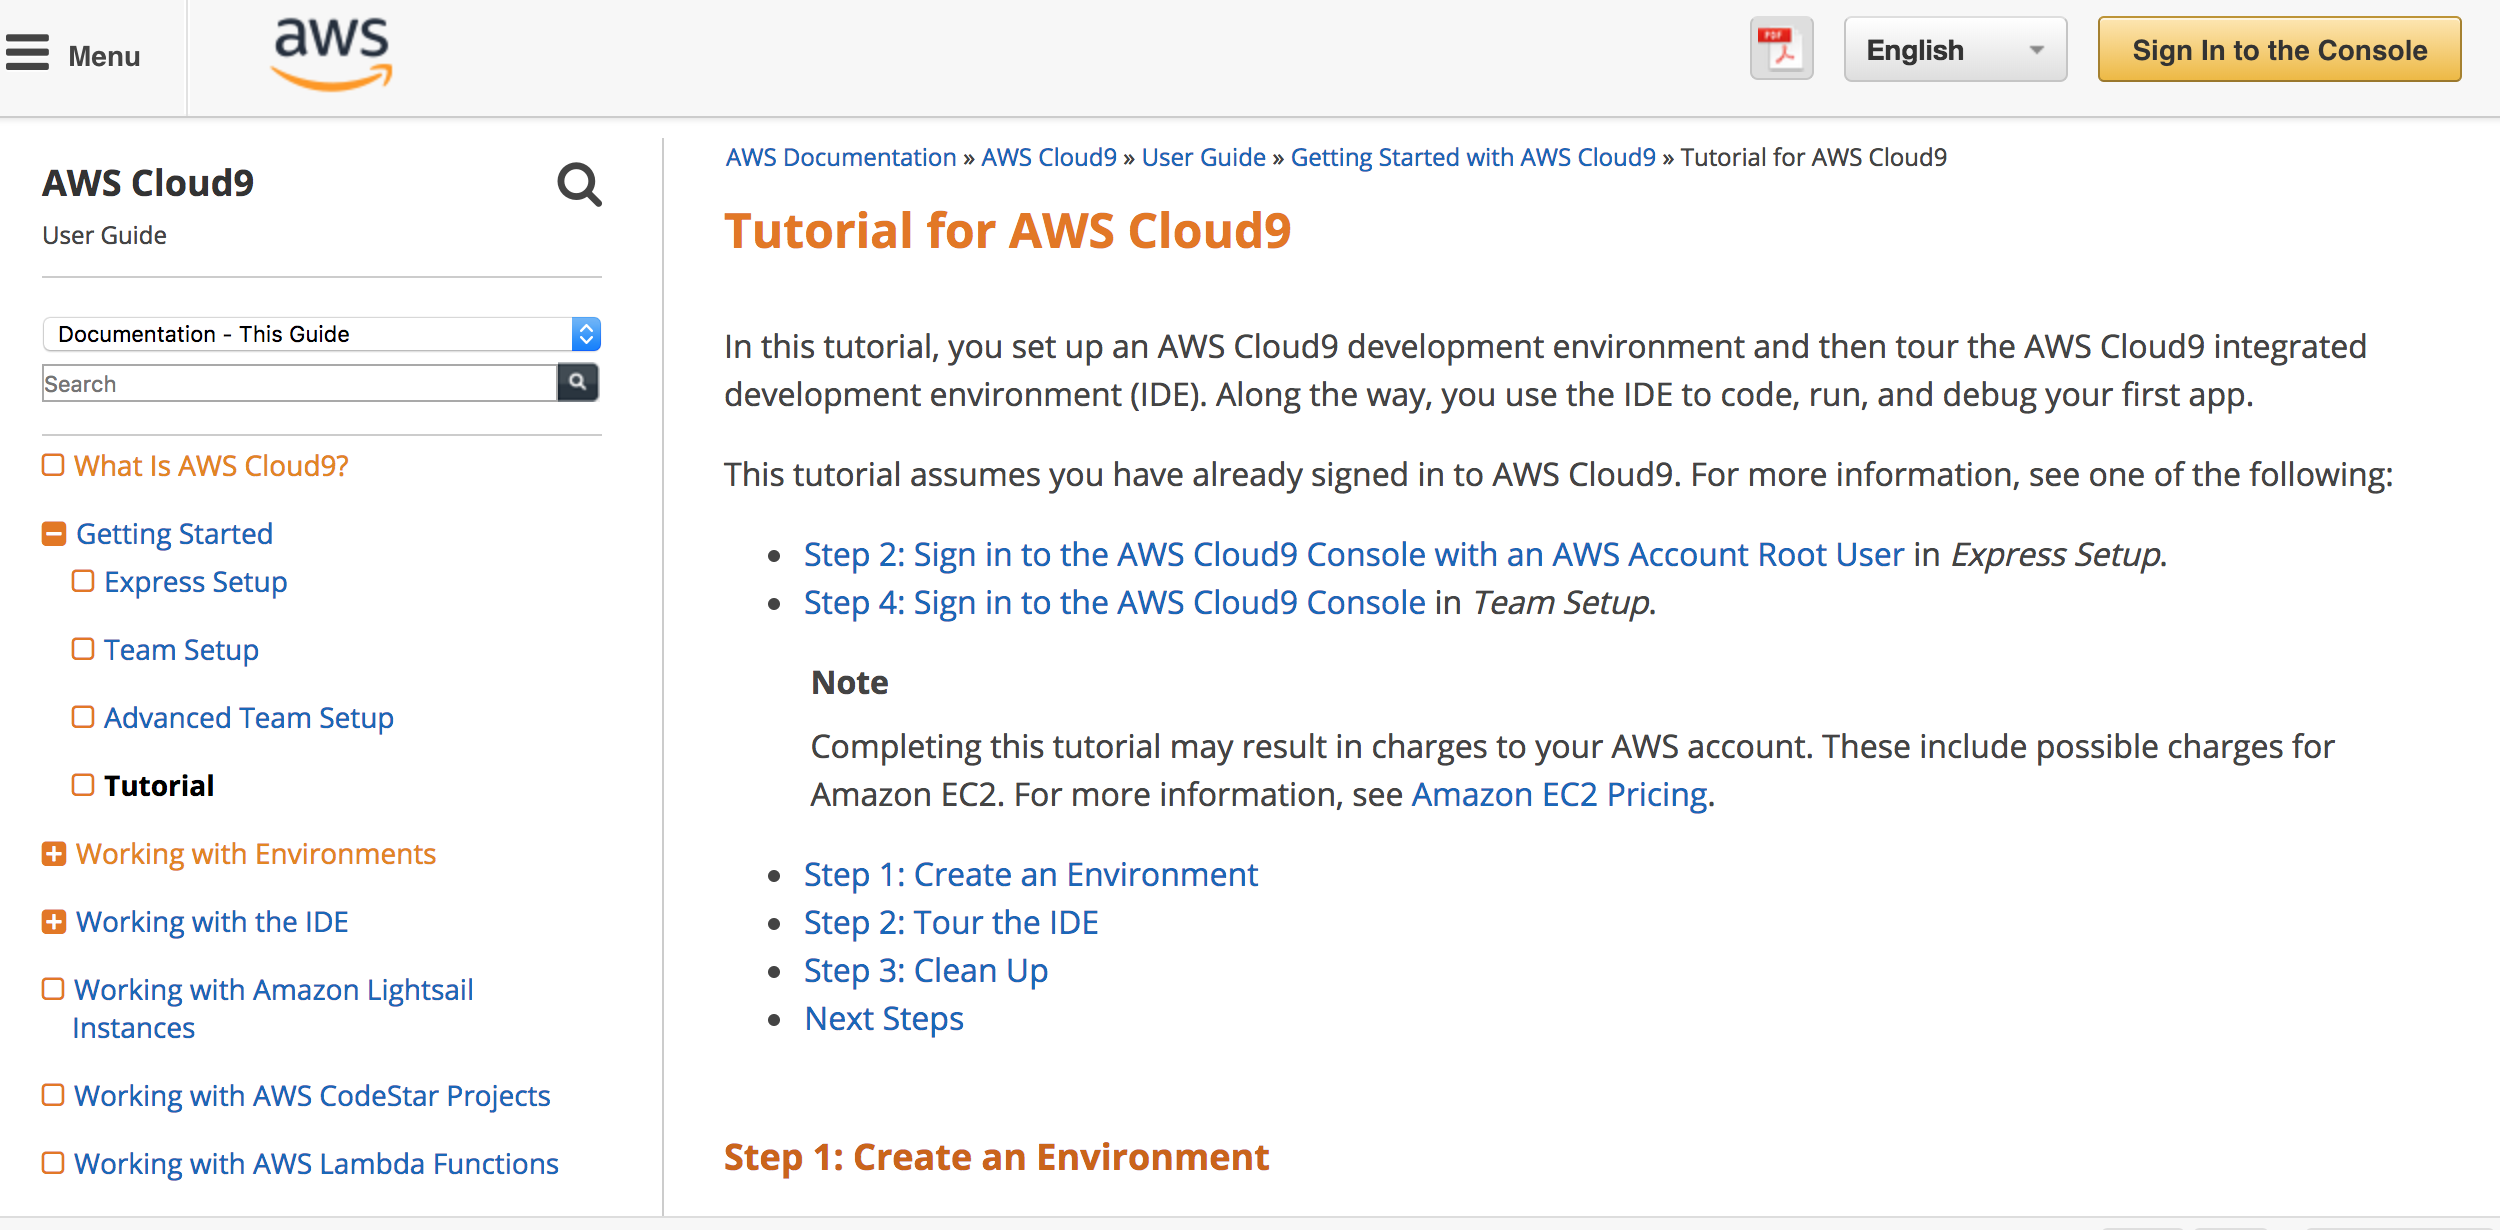
- Take a run through the AWS Cloud 9 tutorial to familiarize yourself with some of it's features.